
Writer
Using Voice-to-Text in Writer
Directly record and generate documents with one click in Writer.
Transcription & Generate Video Tutorial
Transcribe and Generate in Writer
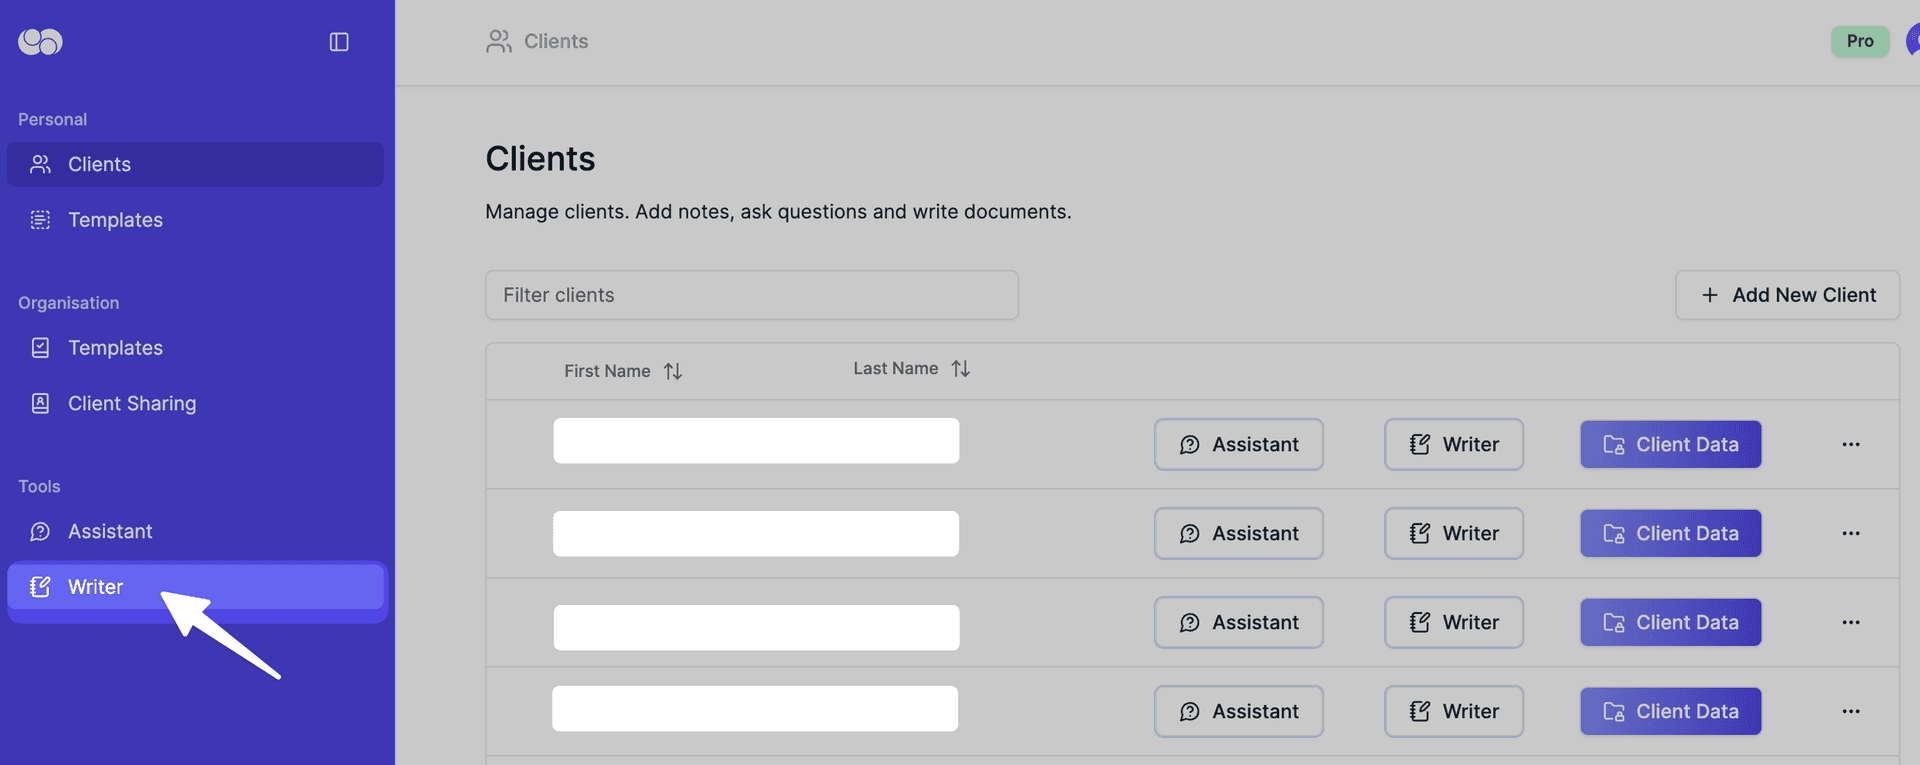
To transcribe and generate using Writer, first click on Writer in the side menu.
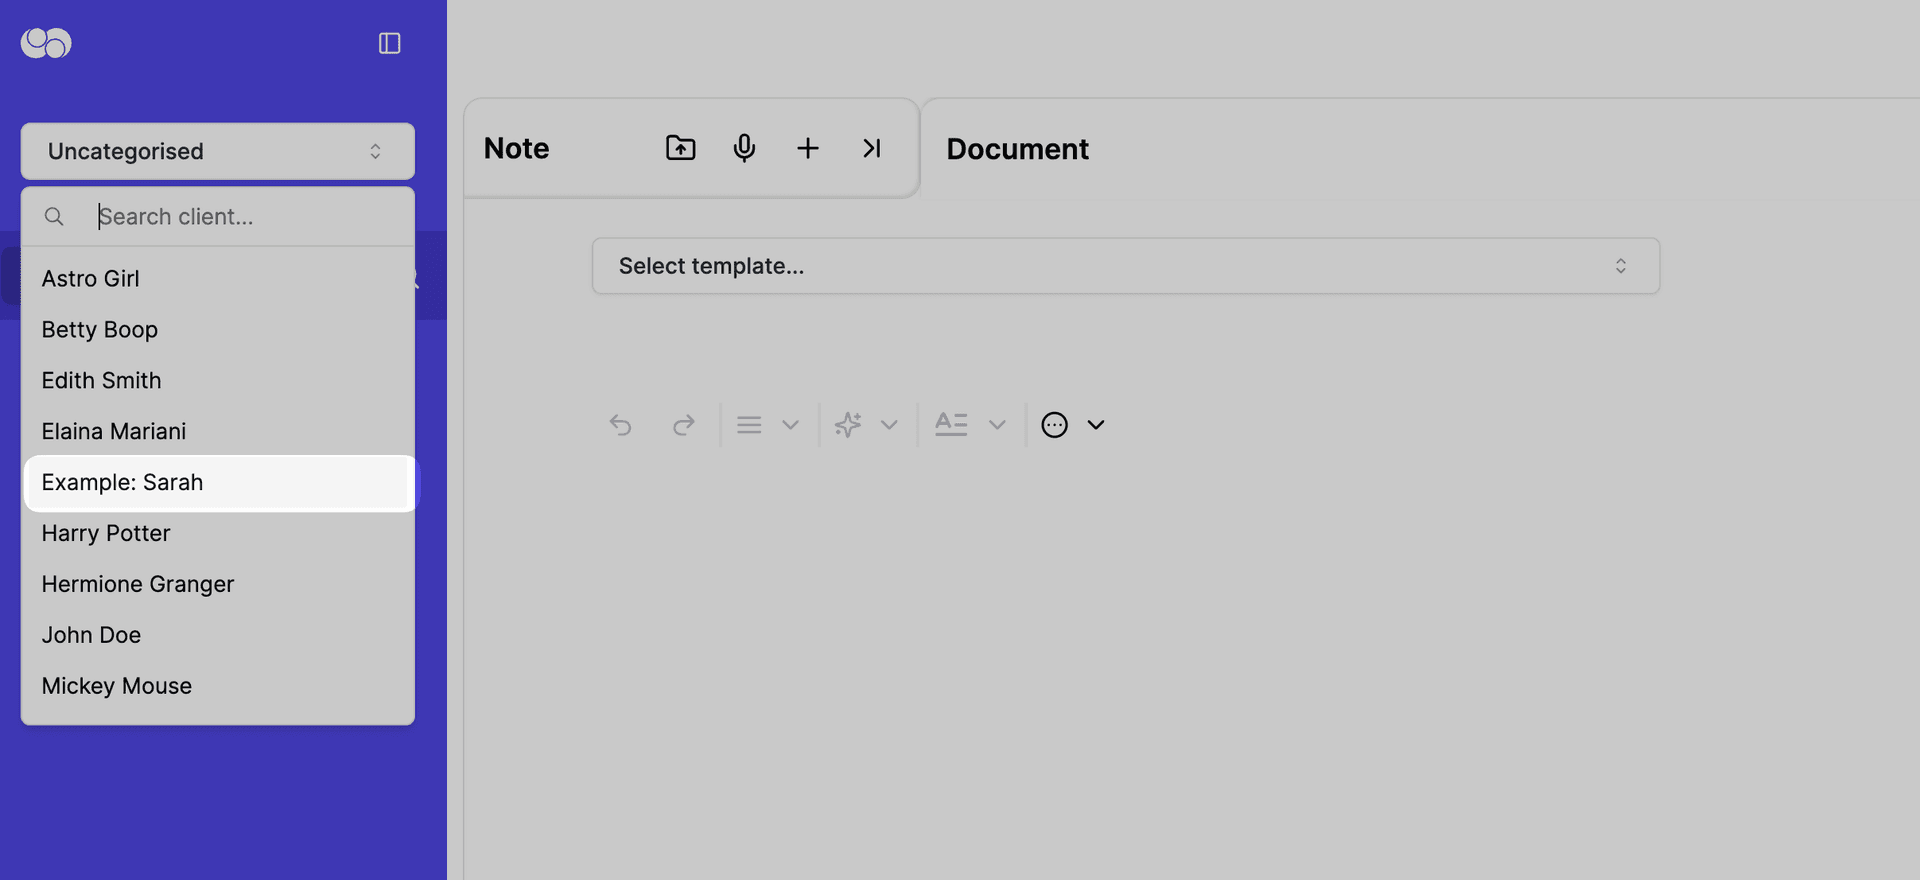
Select the client you want to transcribe and generate for.
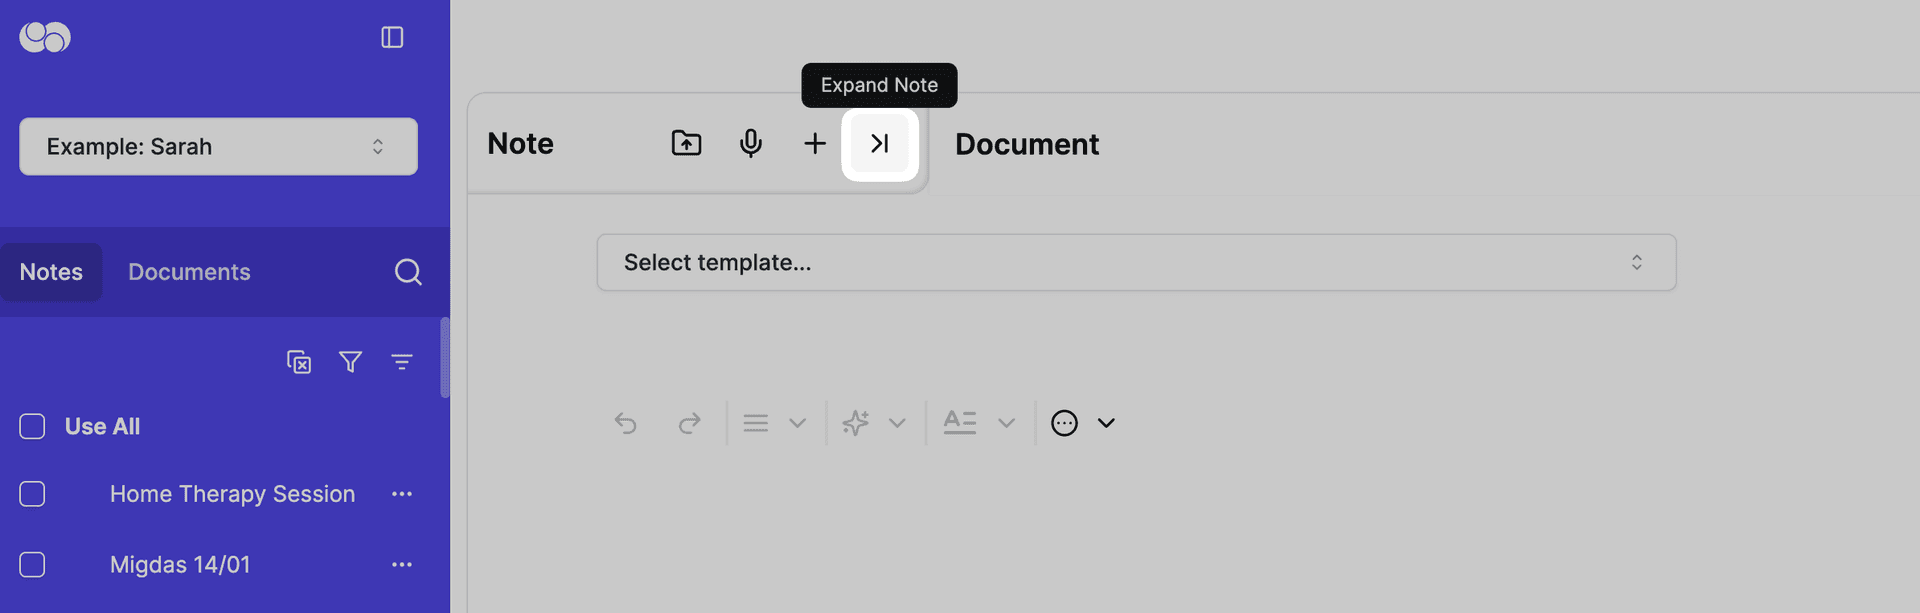
Expand the Context tab if this is collapsed.
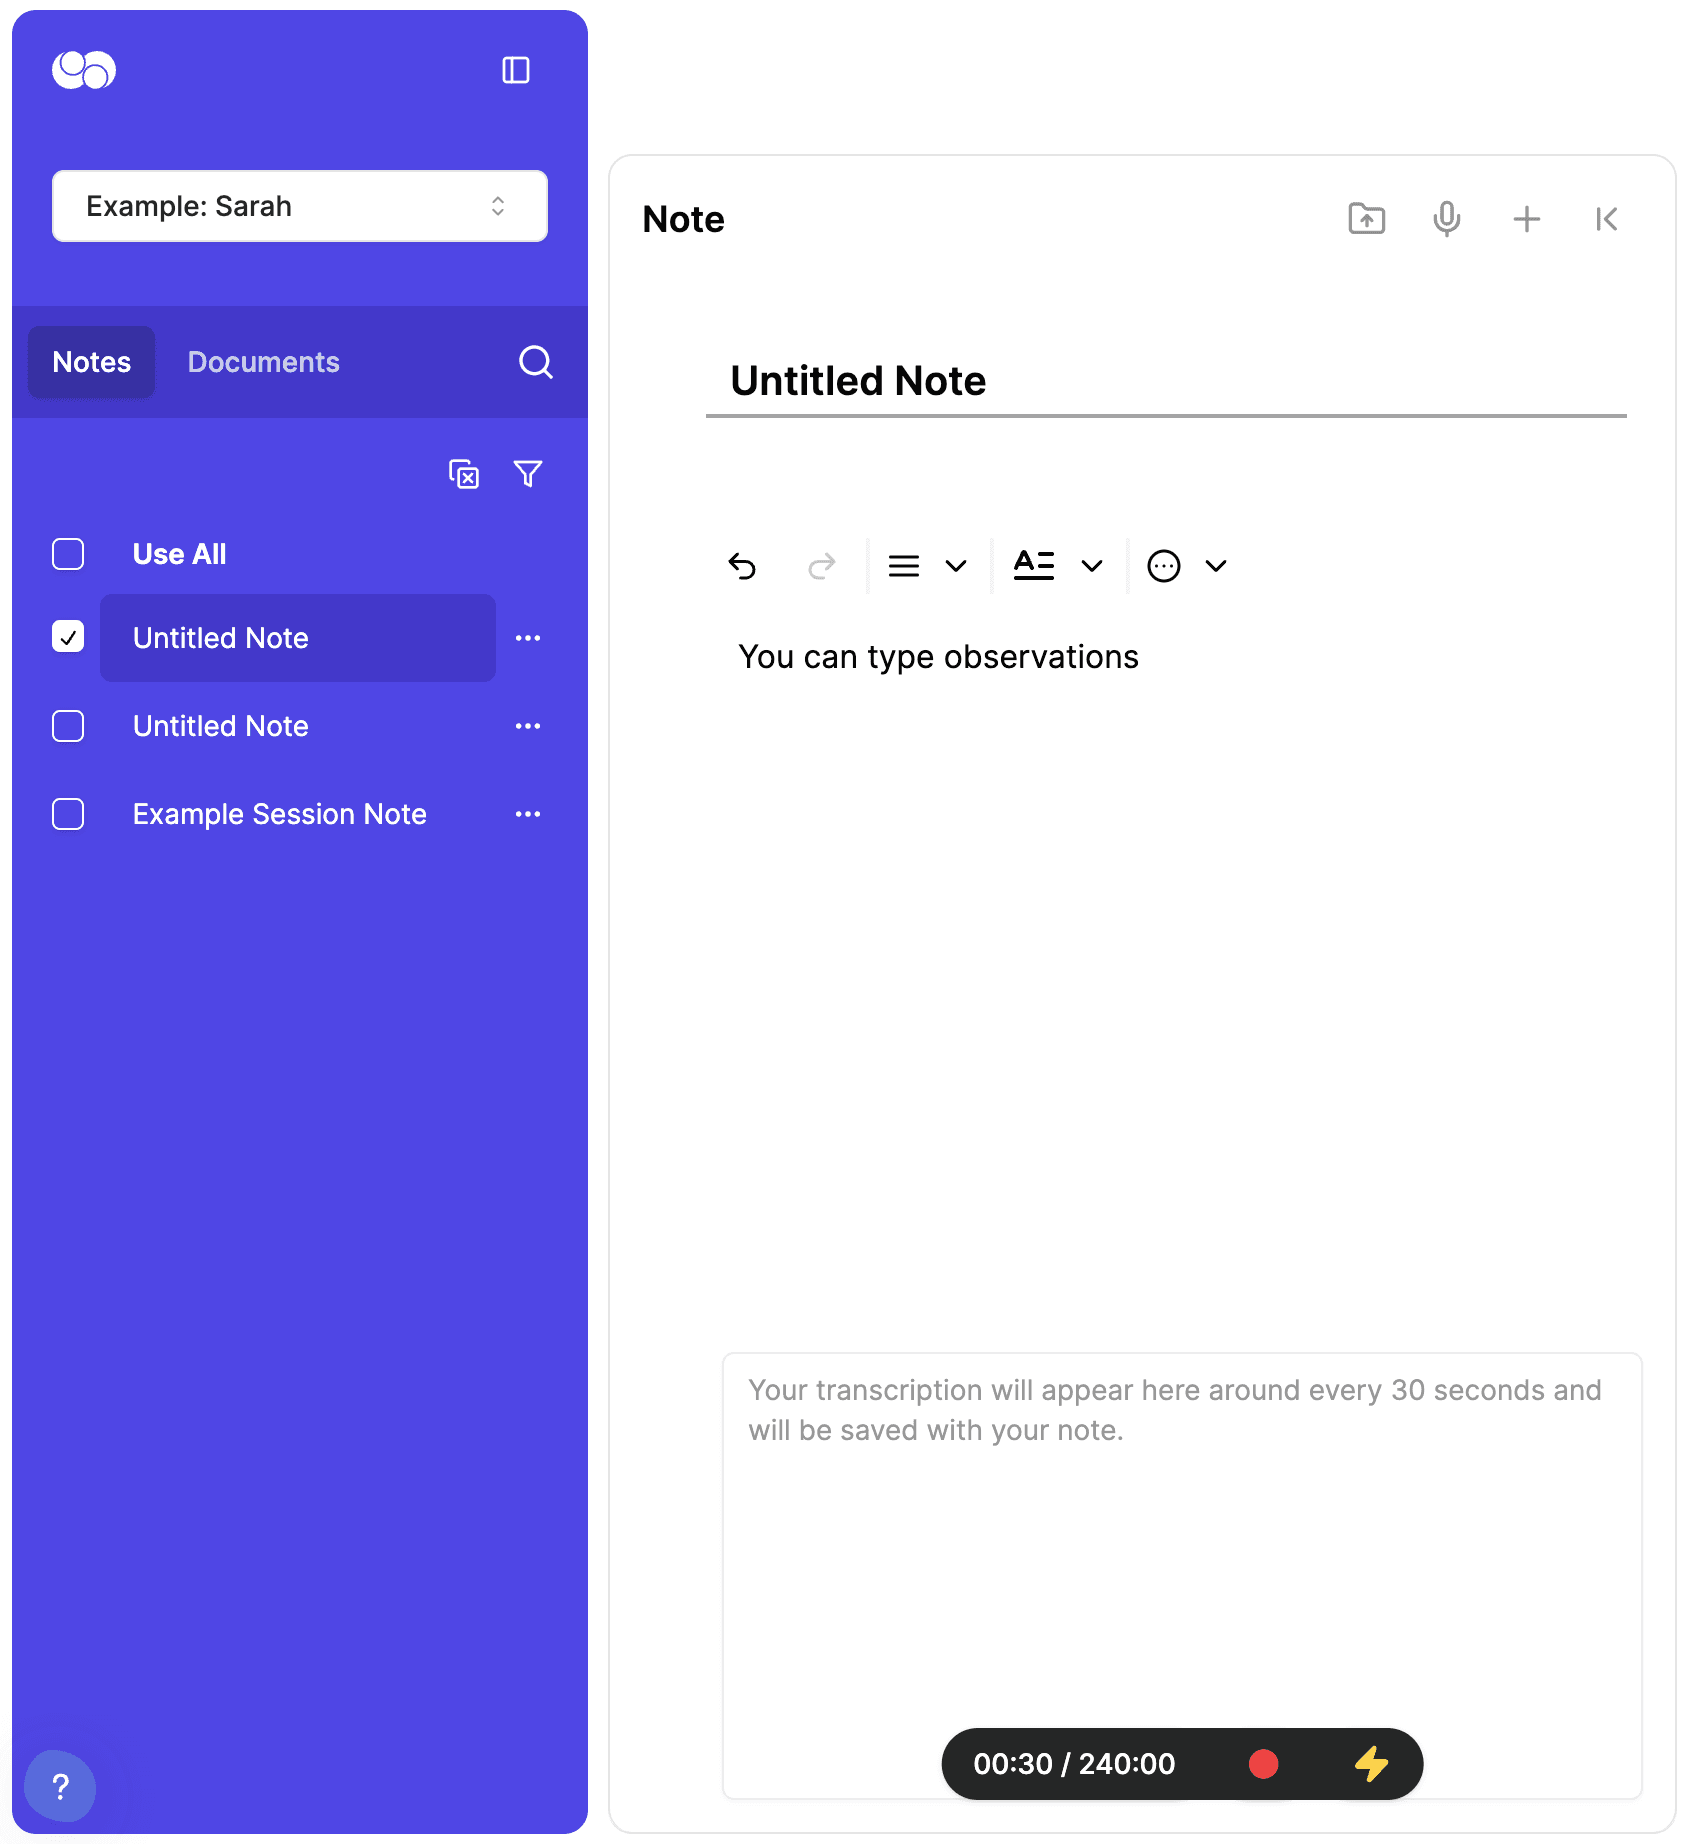
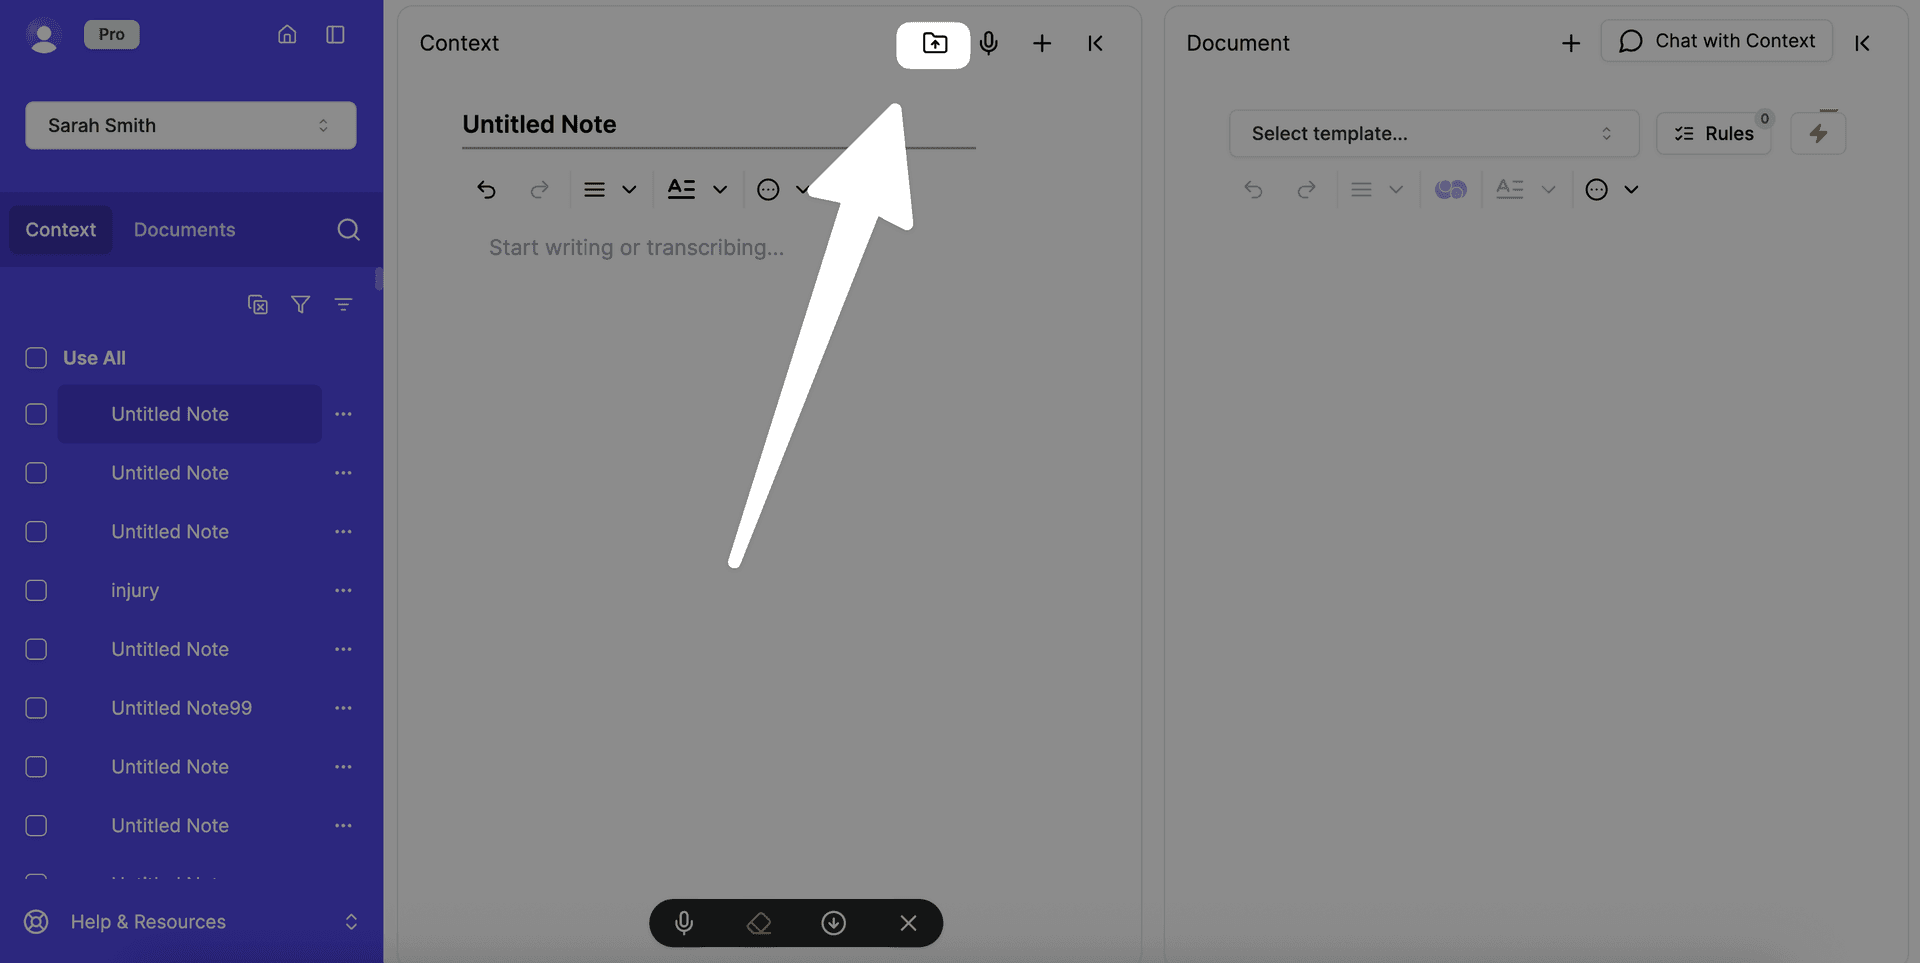
Starting a transcription
Click on the microphone icon

Why are there two microphone icons? Both will begin transcription. The top transcription button will create transcribe into a new piece of context each time. The bottom transcription button allows you to stop and resume transcription in the same piece of context.
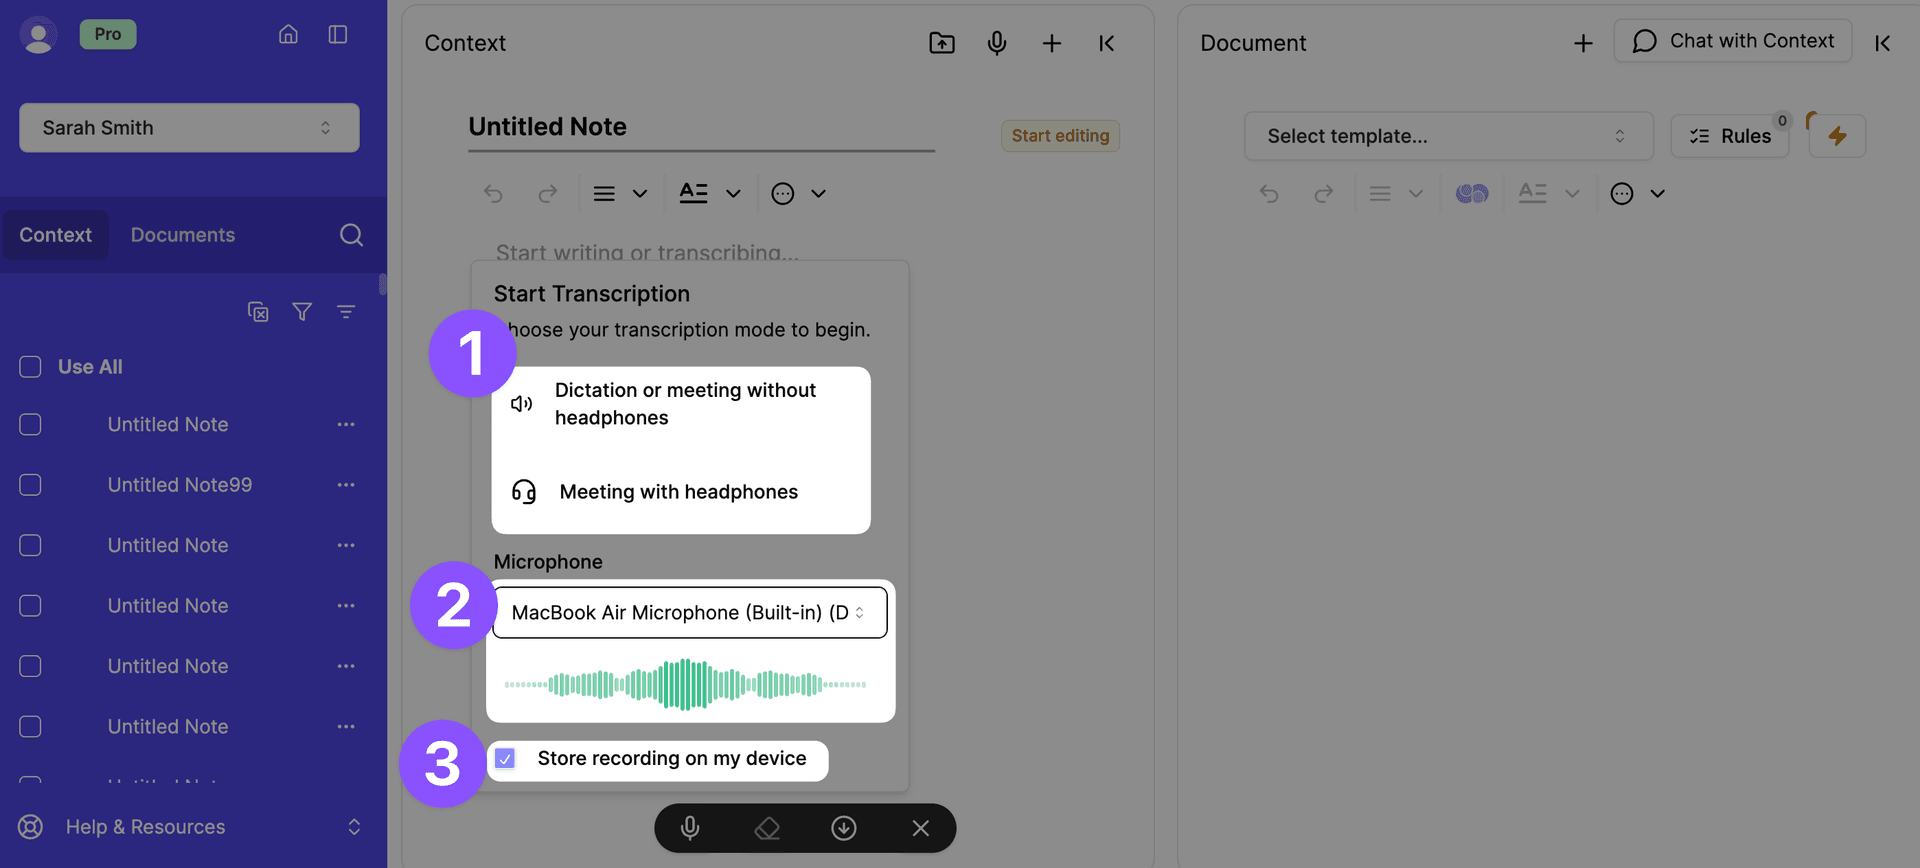
Choose your transcription mode:
- Dictation or Meeting without Headphones: Captures your microphone input.
- Meeting with Headphones: Designed to capture both microphone and meeting audio (if the meeting is browser-based).
(Optional) Check "Store recording on device"
By default, this is off. Everbility will remember your preference. This audio file will be saved on your Everbility account for the device that you were using under 'Recordings'.
Transcription Modes
- Dictation or Meeting without Headphones
- Use for dictations or meetings without headphones. In this mode, Everbility will detect your voice and voice of the person you are meeting with through your phone/computer microphone.
- Meeting with Headphones
- Recommended for telehealth meetings in the browser where you are using headphones. In this mode, Everbility will detect your voice and voice of the person you are meeting with through your headphones.
- Requires Chrome 74+, Edge 79+, or Opera 62+.
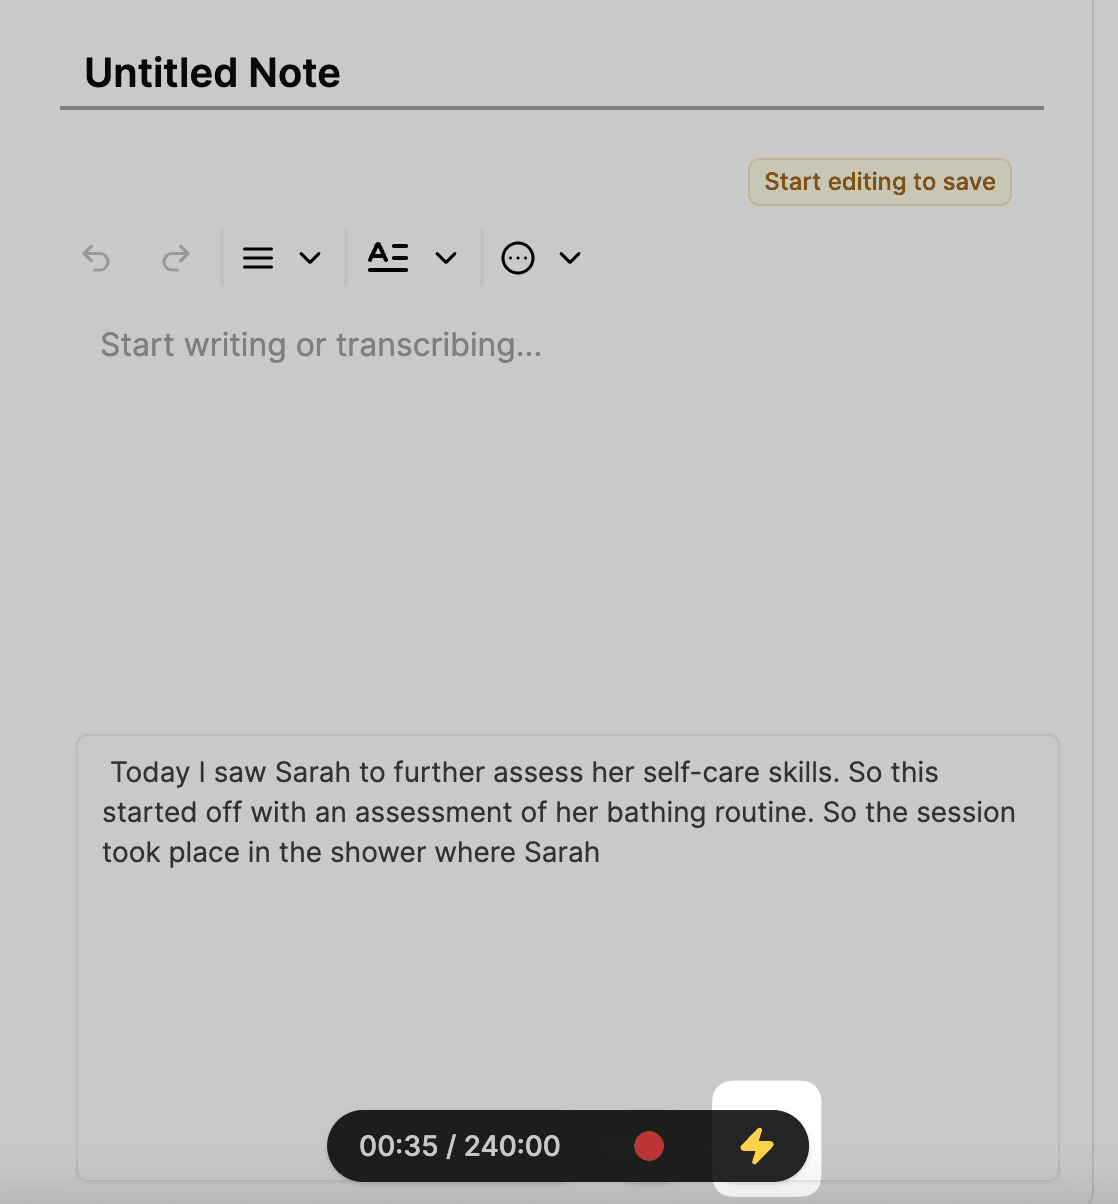
The transcription will be happening as you speak. Everbility transcribes the audio it has recorded so far as it detects a pause in your speech or every 30 seconds, whichever is earlier.
To generate the document/ note in one click:
When you have finished transcribing, select the Generate button (pictured below).
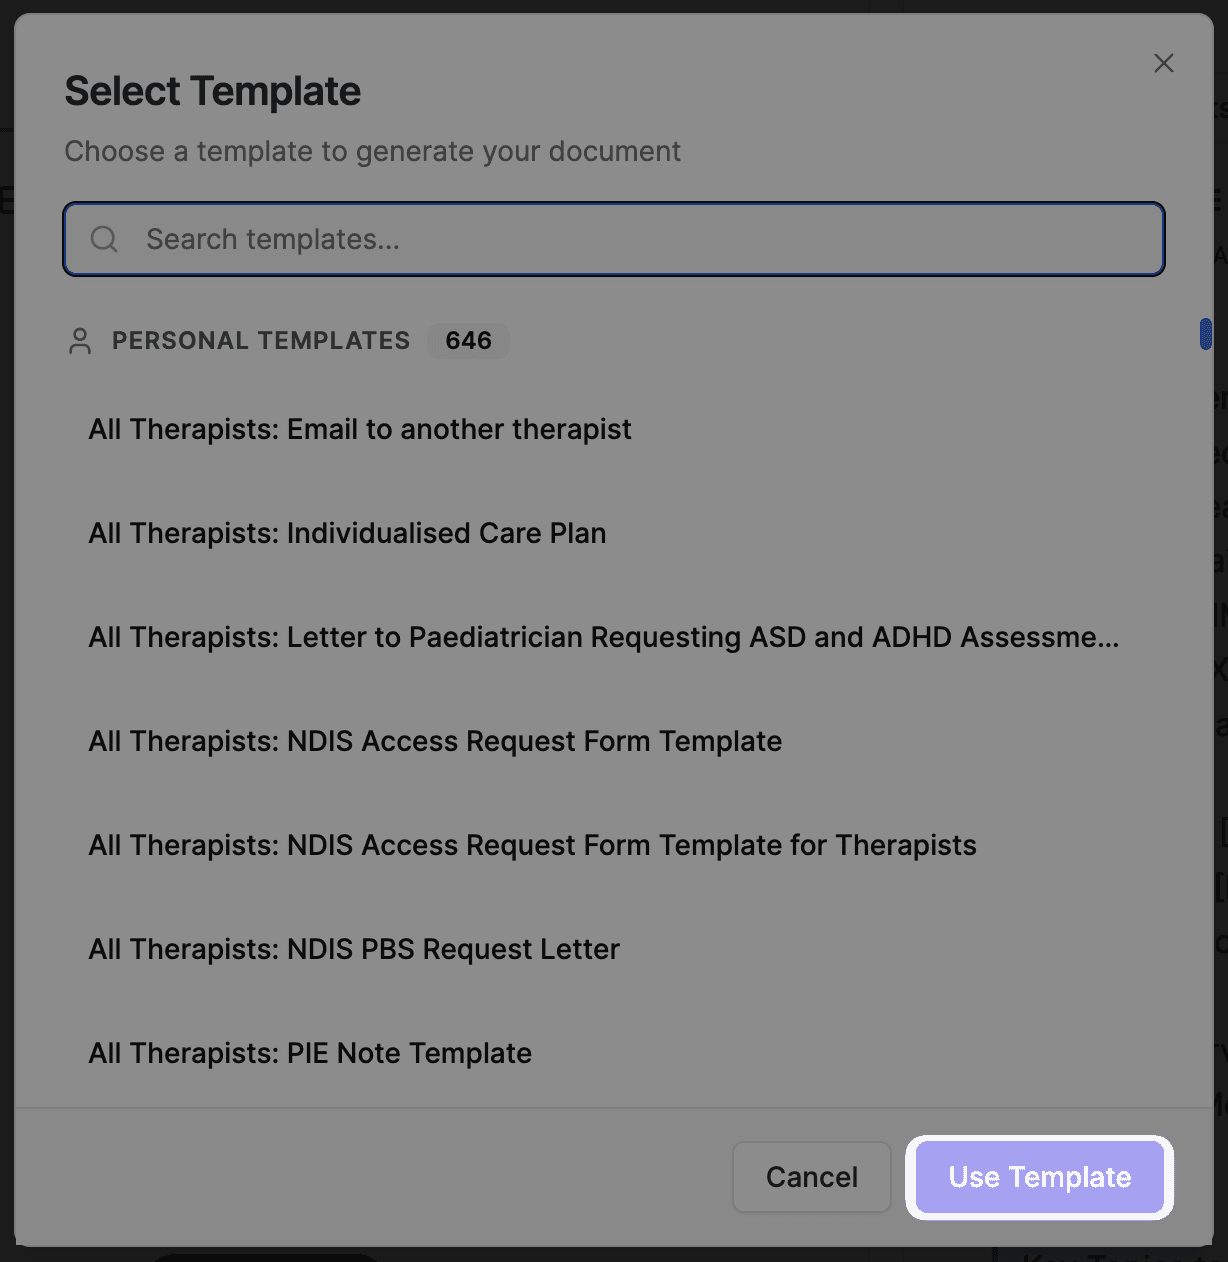
A pop up will appear asking you to select the template you would like to use. Select the template and click Use Template. Please Note: These are all the templates in your template list. You can take a look at the community templates to copy across templates or add your own.
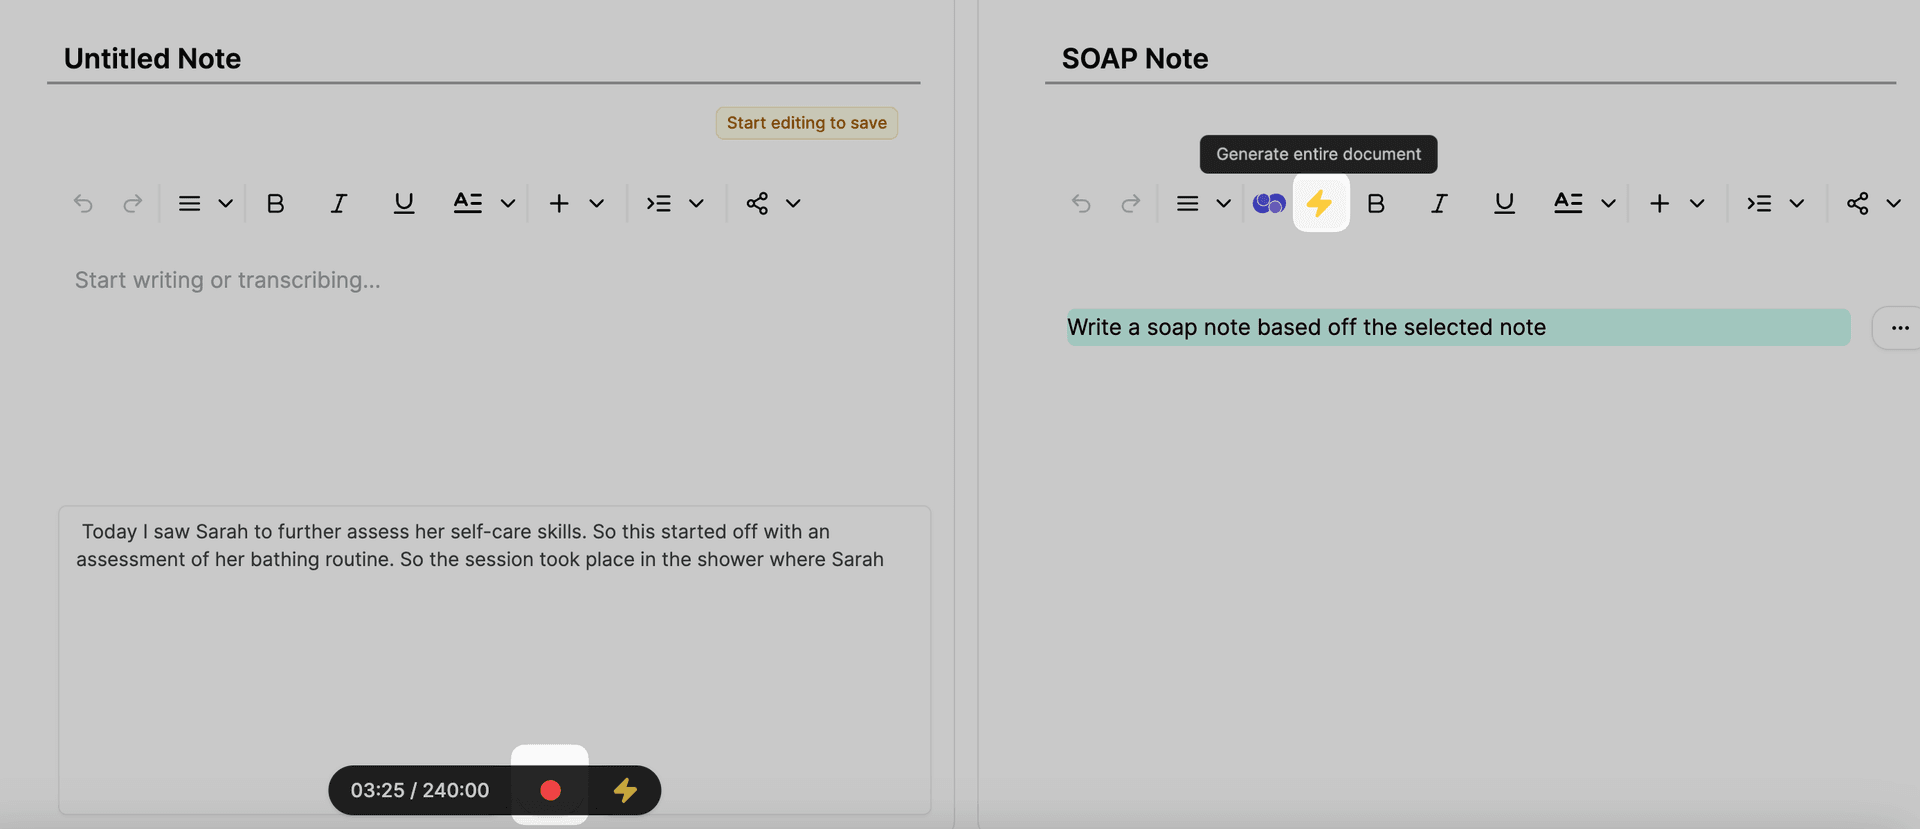
To generate the document/ note in two clicks:
Follow the transcription instructions as above. Once you are finished, click the Stop transcribing button and then click the Generate button (lightning bolt icon pictured below). This can be helfpul if you want to quickly edit the document/ note before generating it.
To transcribe a note only and not generate the document:
Click the Stop transcribing button when you are finished. This will automatically save as a note in the client's file (client data).
Transcribing and taking notes
You can take notes while transcribing. The transcription will be appended to where your cursor is after you stop the transcription.
Storing Recordings on Device
- By default, audio recordings are not stored on your device or Everbility servers.
- If you want a backup of your recordings, you must check the Store recording on device option before starting the transcription.
- Enabling this feature will also provide a backup in case you lose your internet connection during a session.
- Once stored locally, they can be accessed under Client Data → Recordings.
The audio recordings are never stored on Everbility servers. Even if you enable the Store recording on device option, the recordings are only stored on your device.
Managing and Downloading Recordings
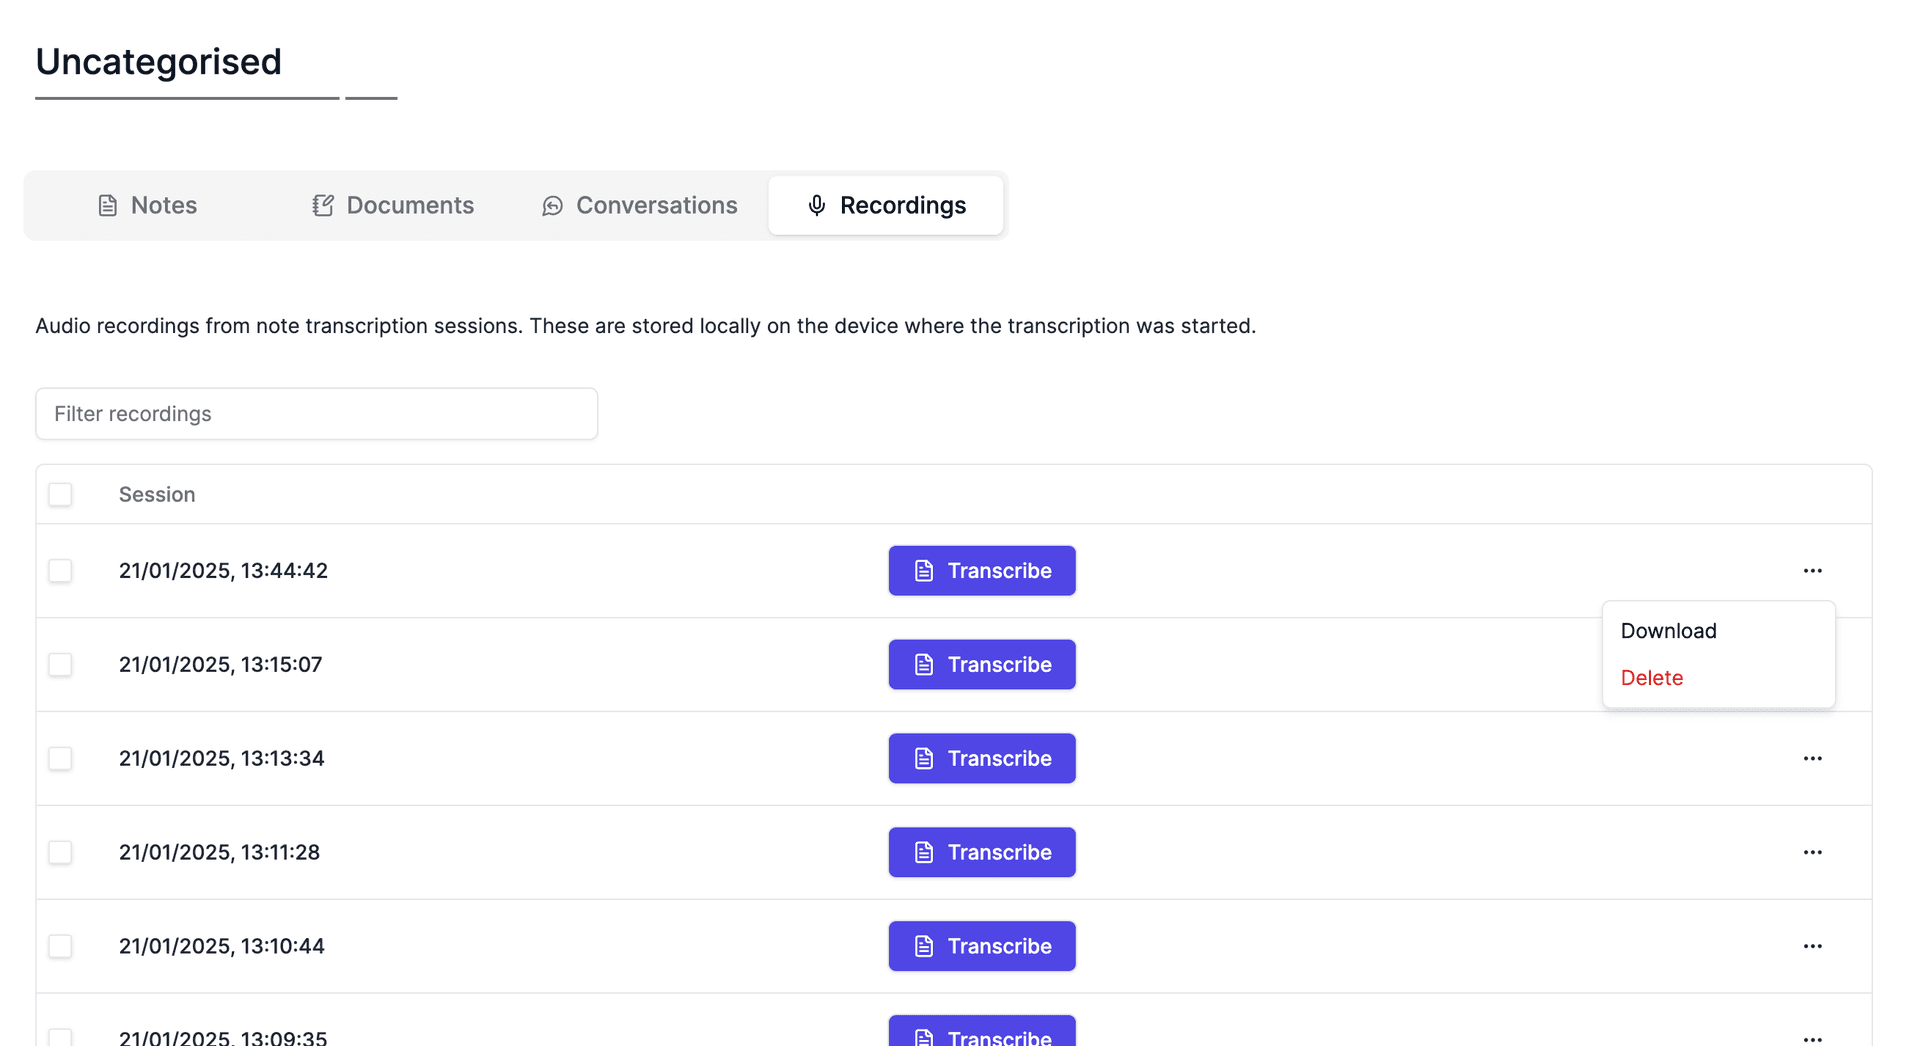
After you finish recording, the session will appear under Client Data → Recordings with a timestamp (only if you chose “Store recording on device”). From there, you can:
- Transcribe recording
- Click to transcribe the audio into a note within Everbility.
- Download
- Click to download the recording.
- If you used the Meeting with Headphones mode, your downloaded file will include two audio streams.
- Delete
- Click to delete the recording.
Transcribe audio files
You can upload your existing audio files to transcribe them. Click on the Upload button and select the audio file you wish to transcribe. Most major audio file formats are supported.

Currently there is a limit of 195MB per audio file.
Troubleshooting
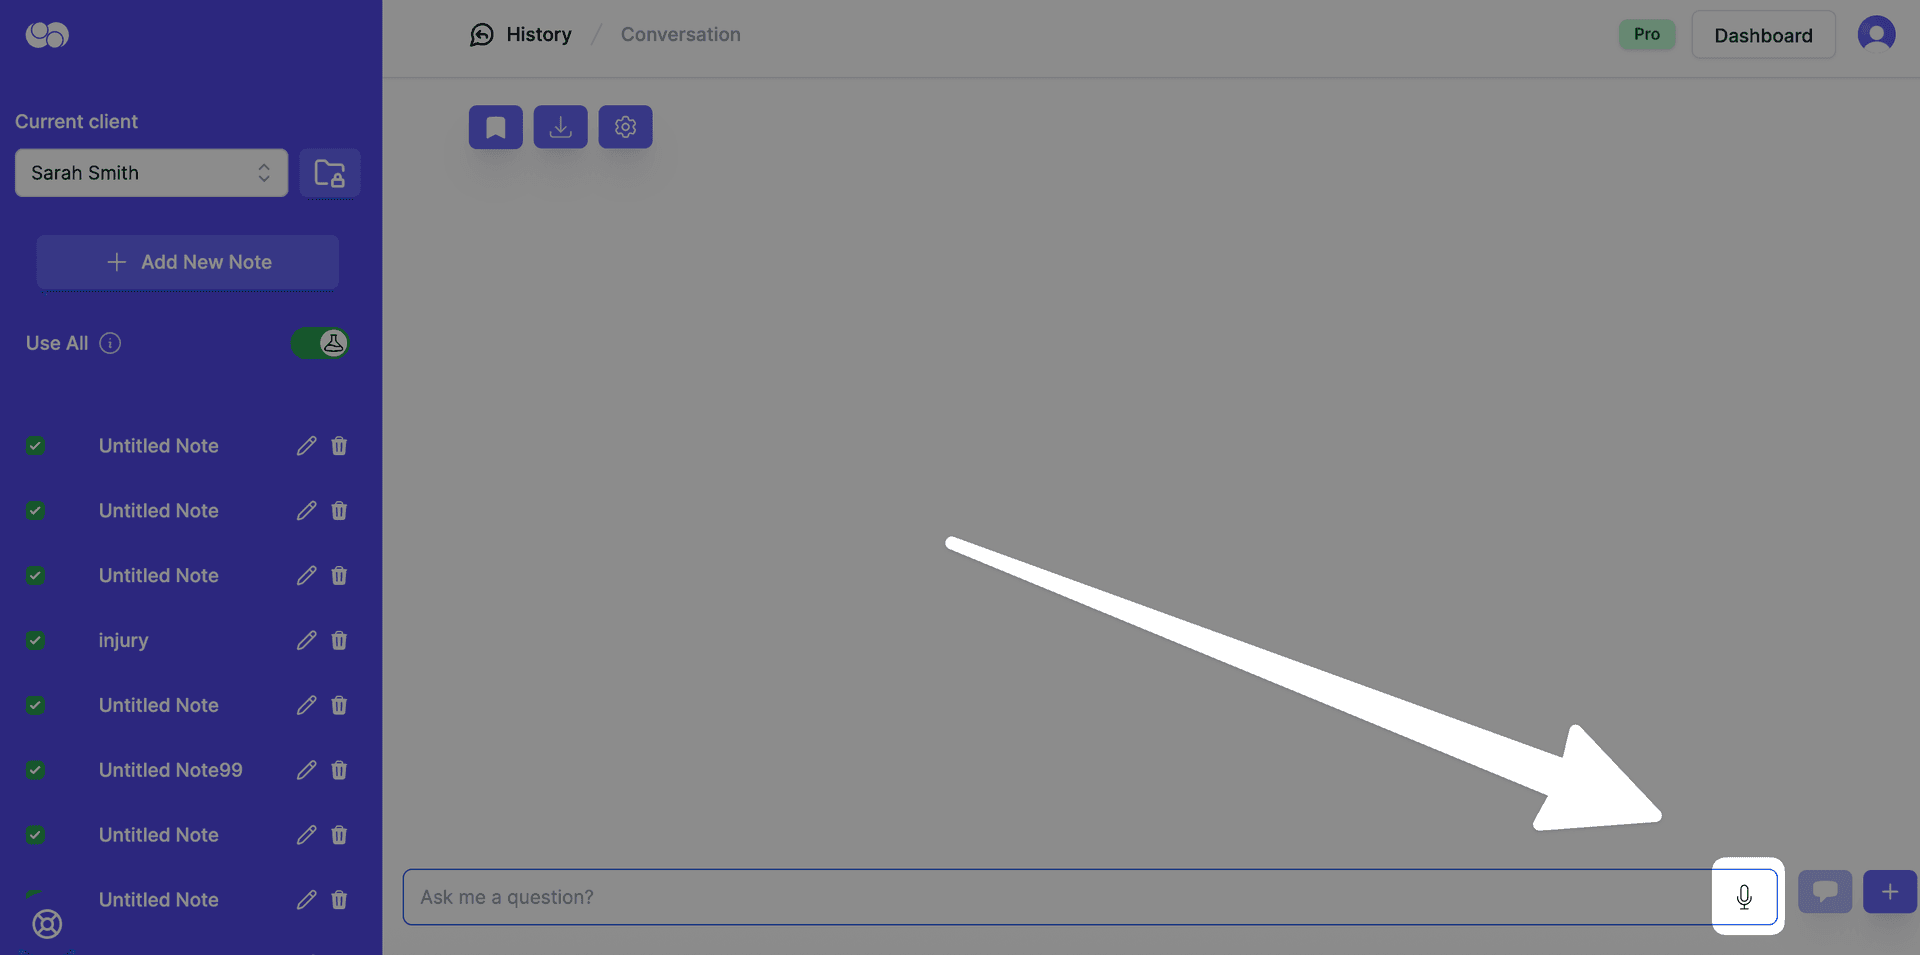
Can I transcribe in Assistant?
No, transcription is a feature in our Writer tool on. You can record a verbal instruction to send to Assistant by clicking on the microphone button in Assistant, e.g., "Brainstorm ideas to support this client with their xyz skills." Please do not use the microphone button in Assistant for transcriptions of sessions/ notes.
Updating or Resetting Microphone Permissions
If you see Permission denied. Please allow access to the audio device., your browser is usually blocking microphone access for Everbility.
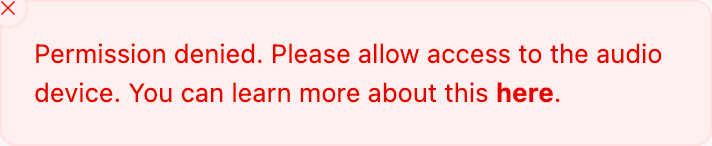
Read the full browser-by-browser guide here: Fix Microphone Permission Errors
This guide includes Chrome, Safari, Edge, and what to search for if you use another browser.
Converting Desktop App Links to Browser Meetings
If you have a link for Zoom or Microsoft Teams that usually opens the desktop app, but you want to record audio directly in your browser, follow the steps below to open the meeting in Chrome, Edge, or Opera instead.
Zoom
- Copy or click the Zoom meeting link from your invitation or calendar (e.g.,
https://us04web.zoom.us/j/123456789?pwd=...). - Open the link in your browser (Chrome 74+, Edge 79+, or Opera 62+).
- If prompted to Open Zoom Meetings, close or cancel that dialog to stay in the browser.
- Click on Launch Meeting and click cancel again to stay in the browser.
- Look for Join from Your Browser (usually near the bottom).
- Click “Join from Your Browser.”
- You may be asked for a display name; then you can enter the meeting.
Microsoft Teams
- Copy or click the Teams meeting link (usually starts with
https://teams.microsoft.com/l/meetup-join/19%...). - Open the link in your browser (Chrome 74+, Edge 79+, or Opera 62+).
- If prompted to Open Microsoft Teams, select Cancel or Close that dialog.
- You should see an option to Continue on this browser or Use Teams on the web instead.
- Choose "Continue on this browser."
- Sign in if required, or join as a guest if the meeting settings allow it.
Feeling stuck? Book a demo here