
Templates
Templates
Create and use Everbility's AI-powered templates to write reports, letters, and more - faster than ever. 🏃♀️ Create templates once and reuse them for multiple clients.
Video Overview
The aim of using Everbility is to save you time on all your therapy documentation needs. While our Assistant tool is great for generating one-off documents, you can save even more time by creating templates for the reports and documents you produce regularly. Templates help streamline your workflow and ensure consistency across your documentation.
Create a Template
Go to Dashboard , then Templates and click on Community Templates or Add New Template.

Community Templates:
Please click on Community Templates for a detailed step-by-step guide on accessing and using community templates.
Add New Template:
This will take you to our AI powered template writer.
Starting Your Template
Think of this as just a regular document that you create. We will soon start adding AI powers to it. Once you have created a template you can reuse it for writing a similar document for different clients.
To get started, you can begin to type in the template.
You can:
- add bold/ italics/ underline text by highlighting the text and adjusting the font in the main toolbar or the floating toolbar.

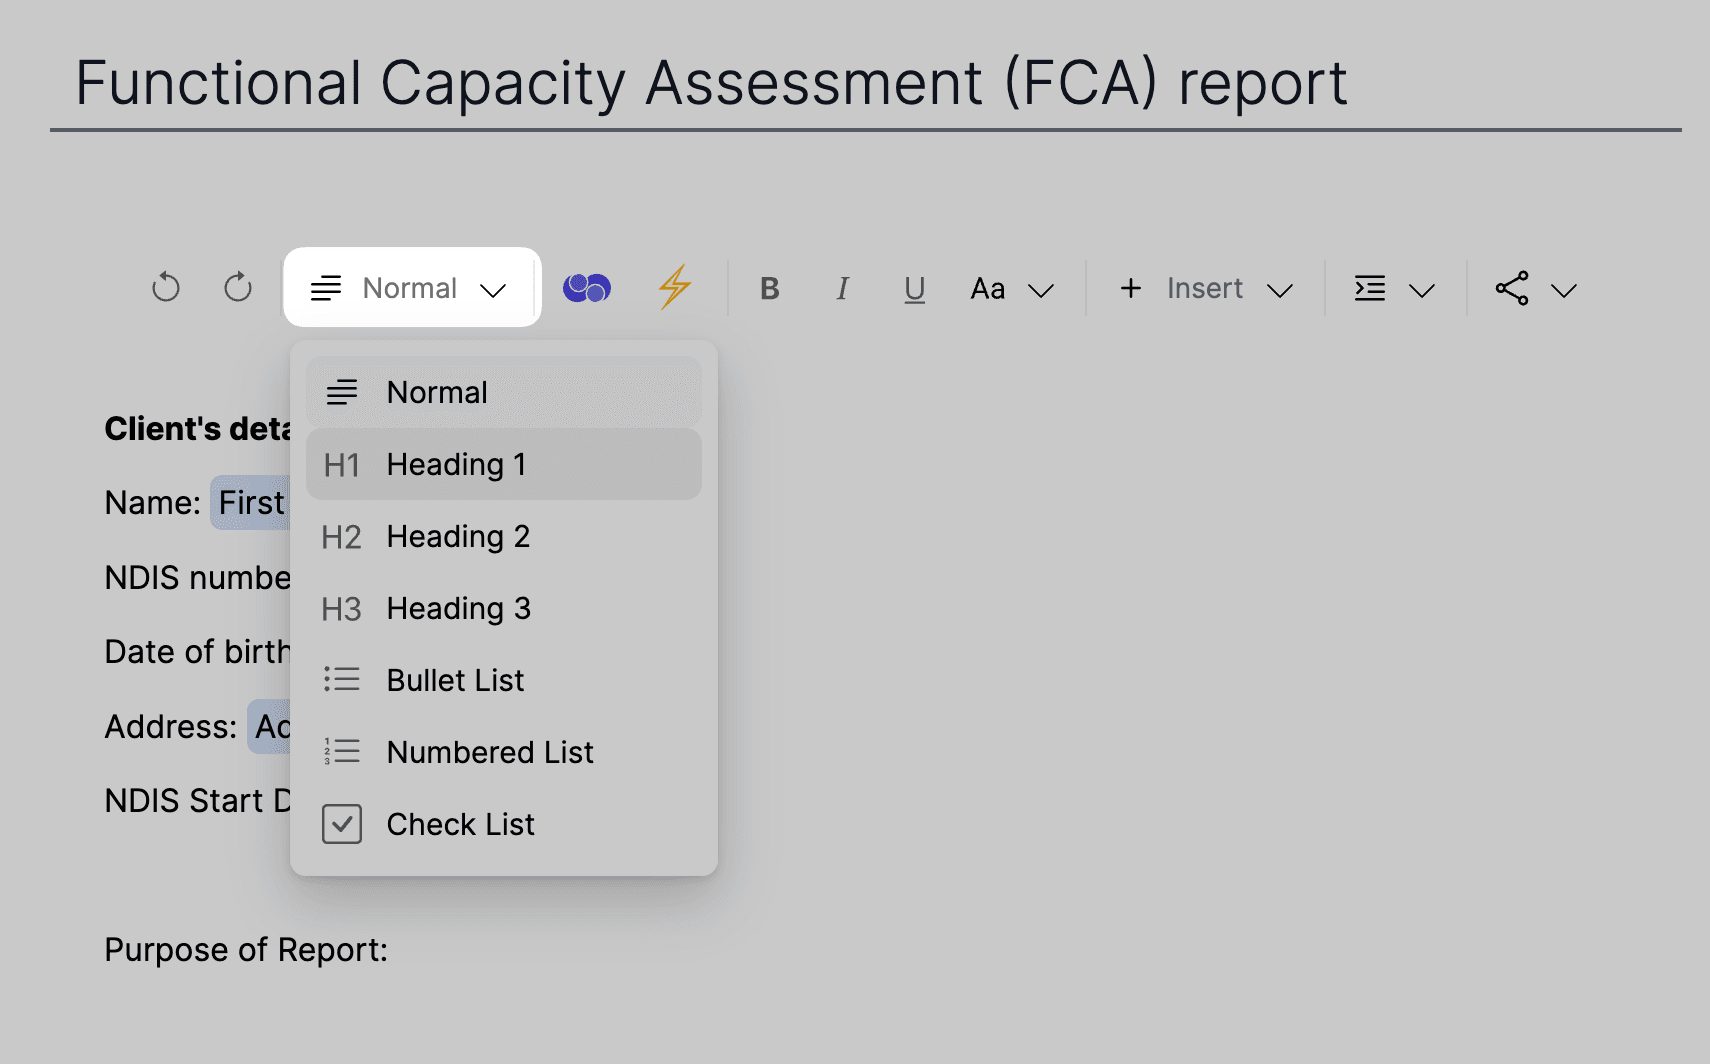
- add subheadings of differing sizes by typing the subheading text, highlighting the text and clicking on the subheading icon in the toolbar. (You can also add checkboxes, numbered lists and bulleted lists here)
The template will automatically save as you type.
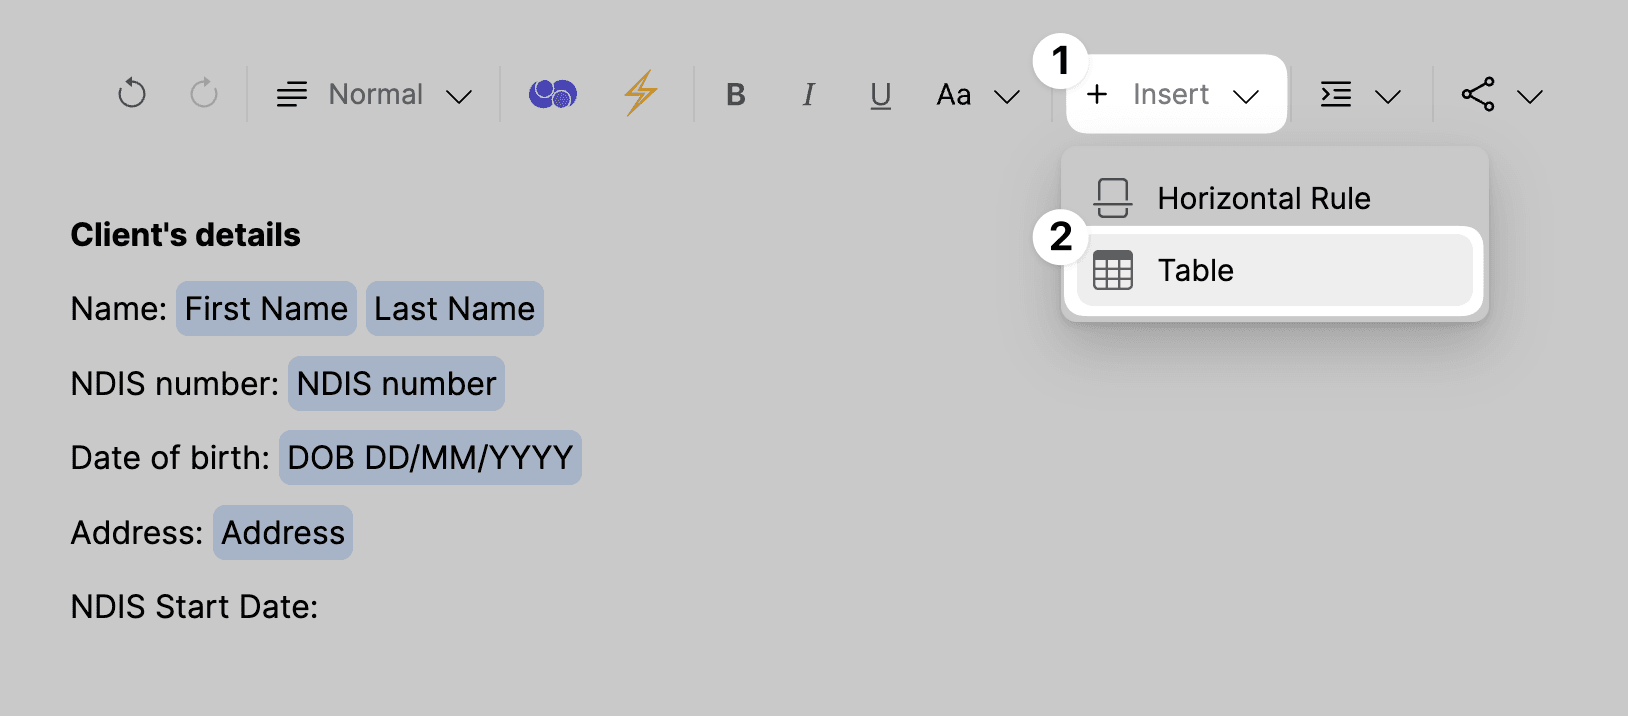
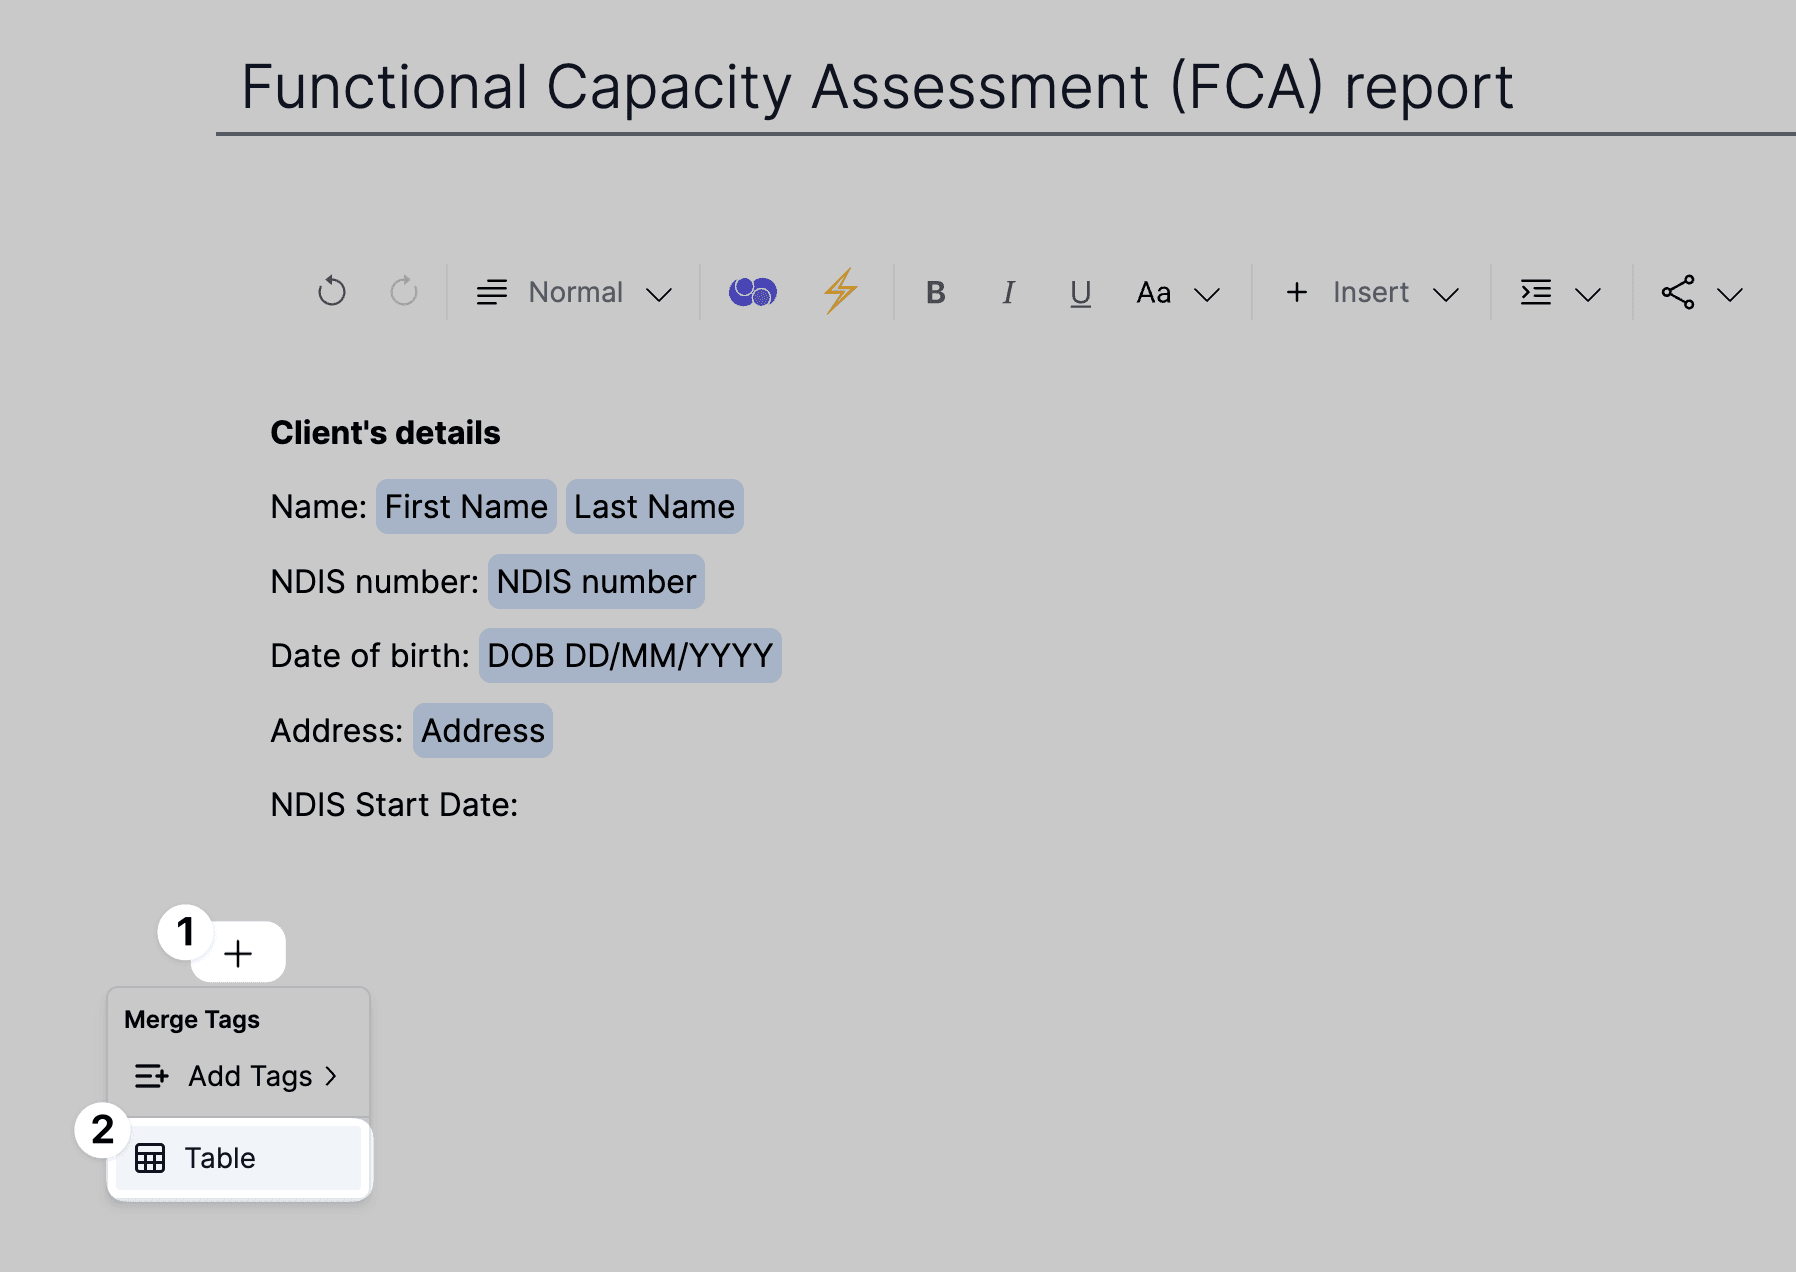
To add a table:
You can add a table by clicking on Insert and then Table in the toolbar or you can click on the + icon on the left edge of the editor and then click on Add Table.
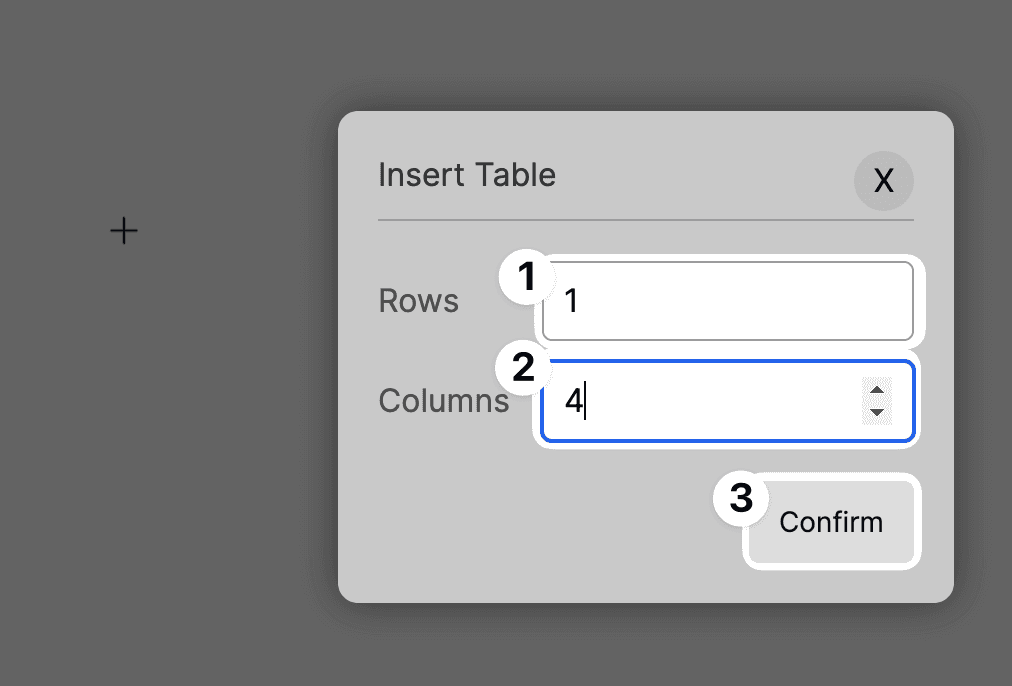
Add the number of rows and columns you want in the table and click confirm.
Below are some examples of how you can customise your table to suit your requirements:
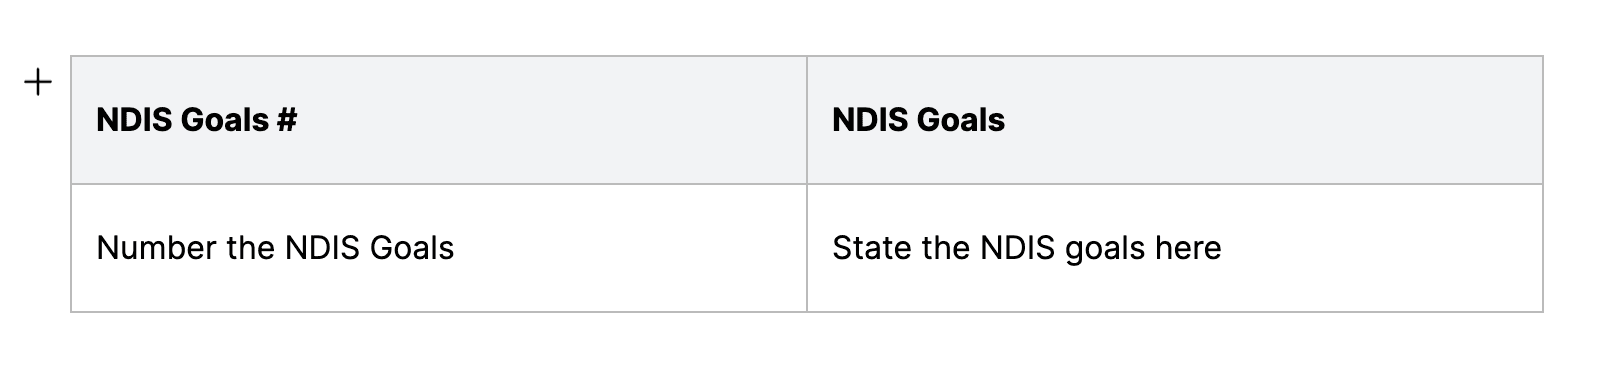
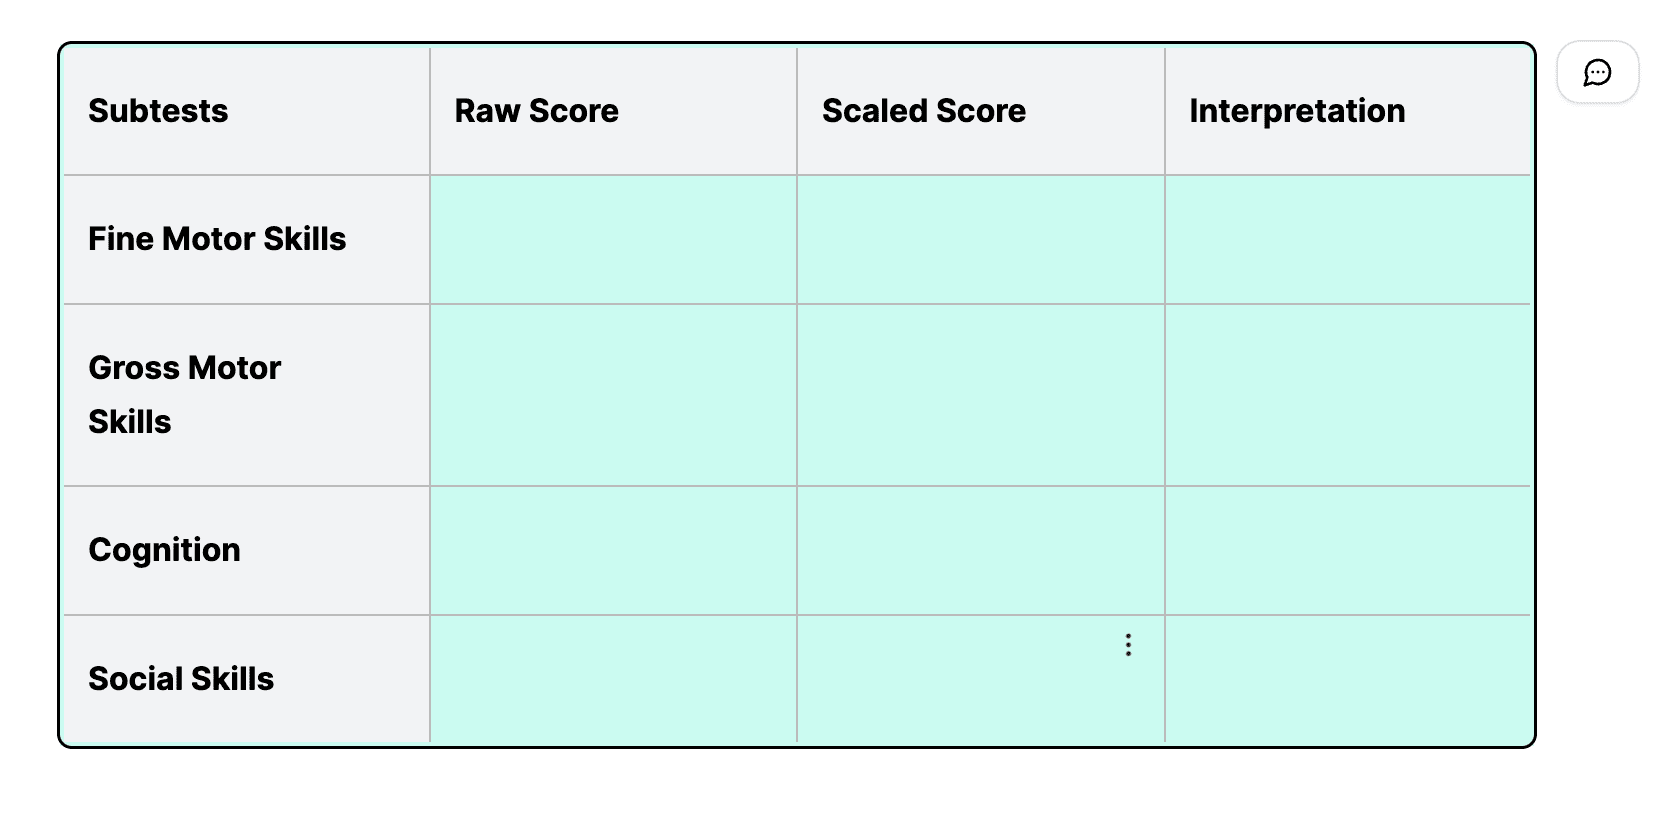
- This table has 1 row and 3 columns.
(When this table is marked as an instruction, Everbility will generate the rest of the rows for you)

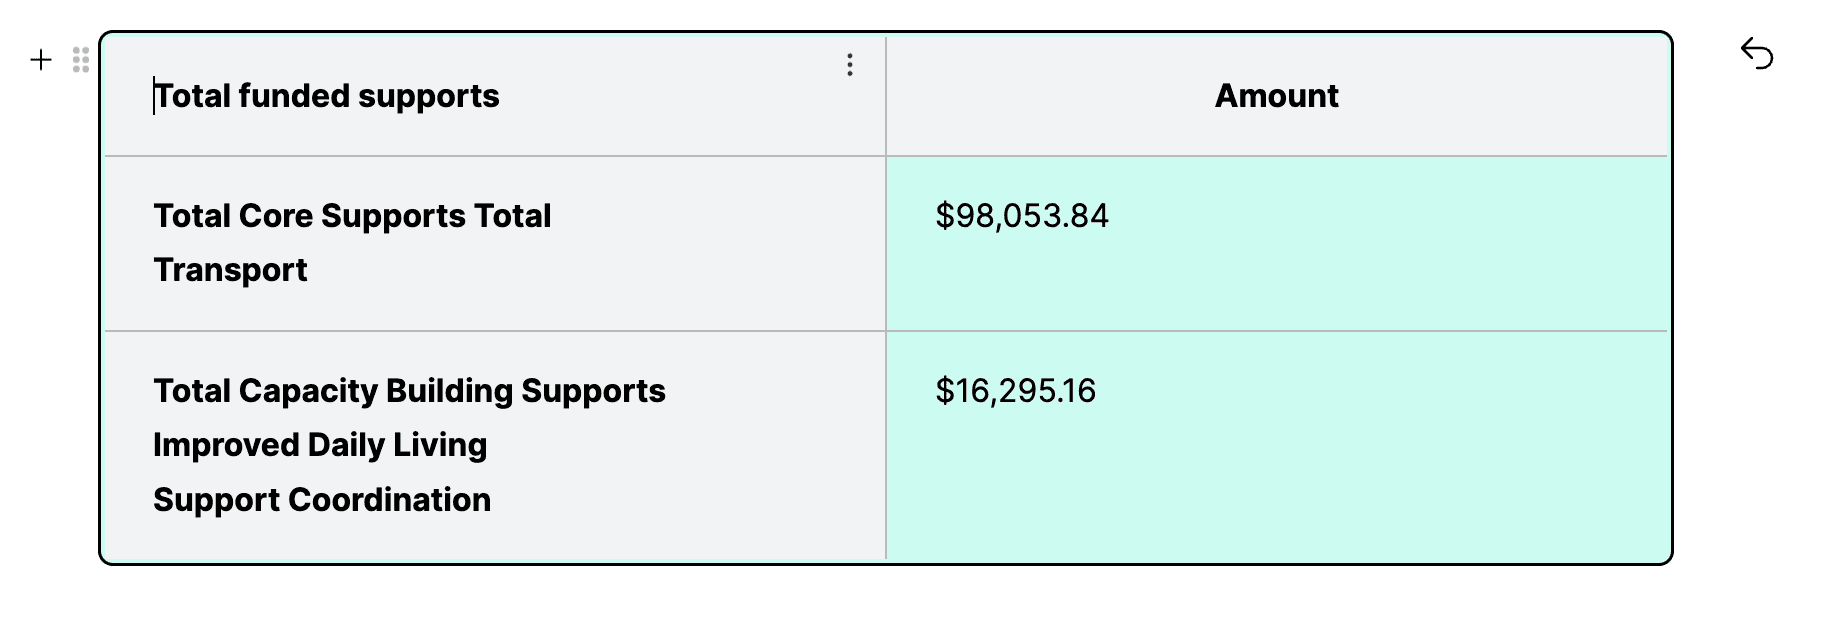
- This table has 2 rows and 2 columns.
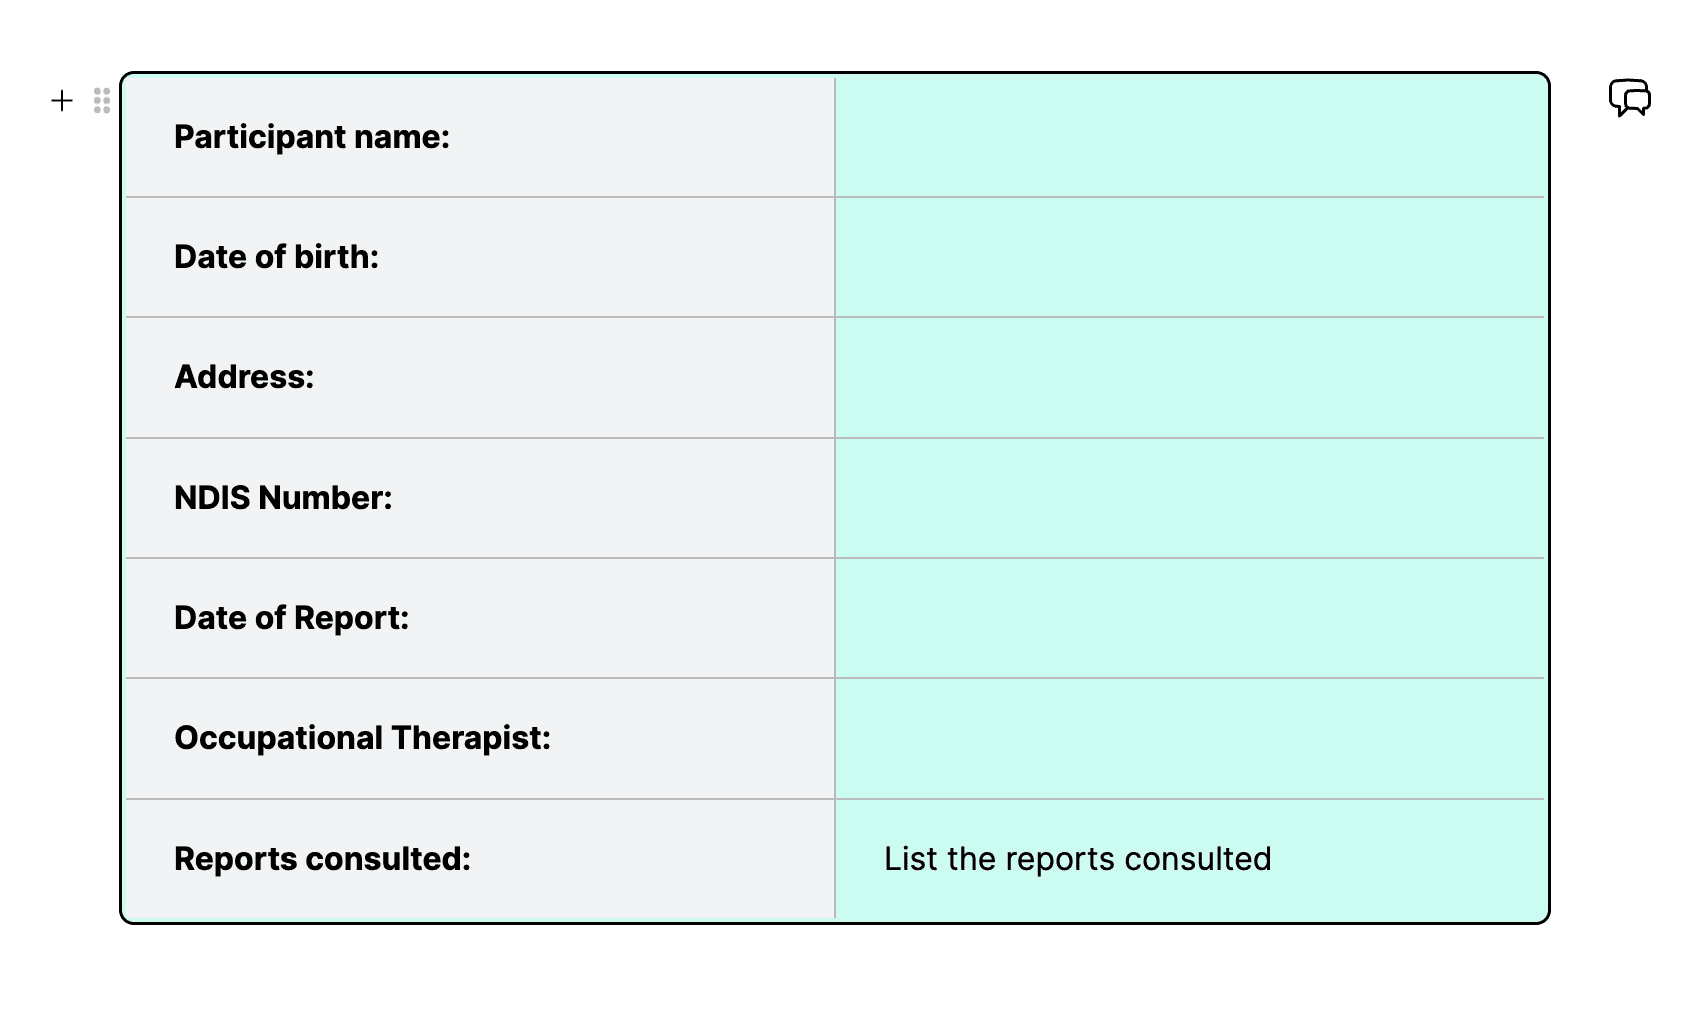
- This table has 5 rows and 4 columns.
To create headings in a table:
It is important to create headings in a table before you mark it as an instruction because Everbility will use the headings to generate the rest of the rows.
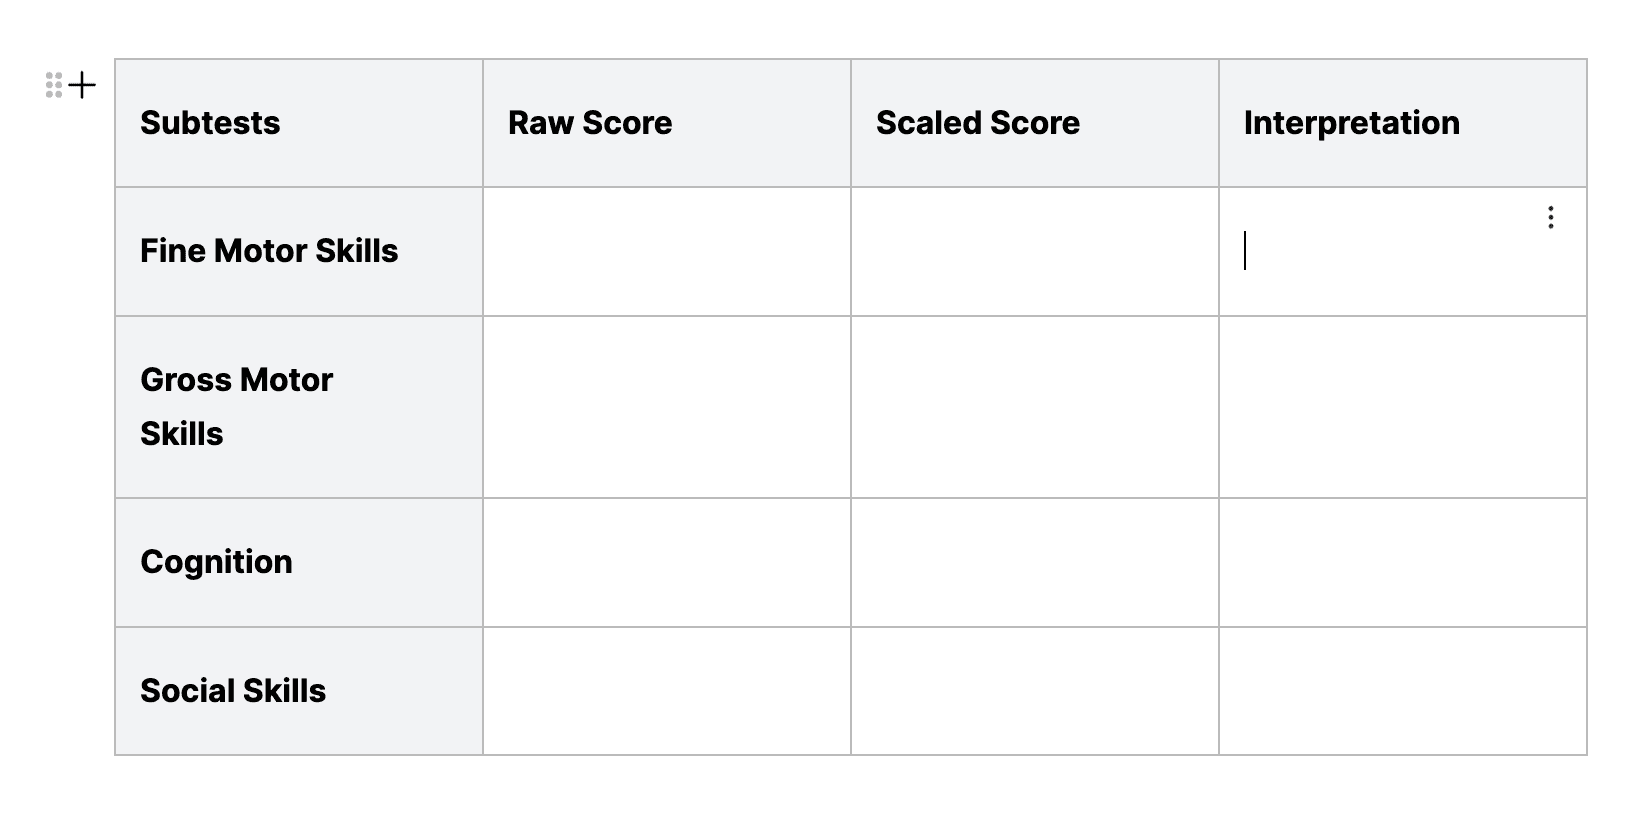
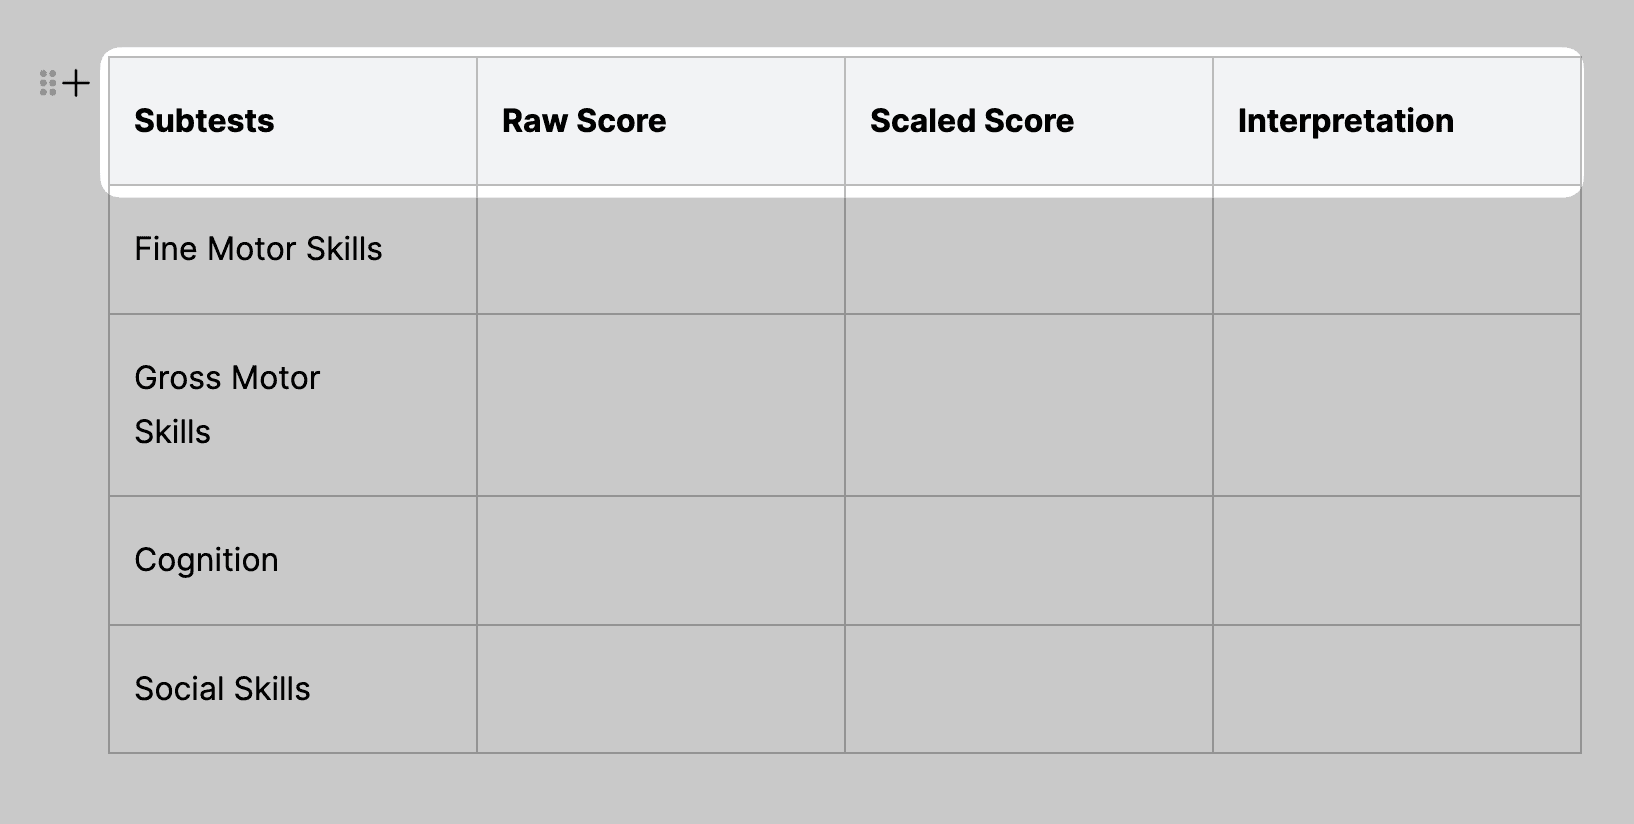
When a table is created, Everbility automatically creates a row header (see below).
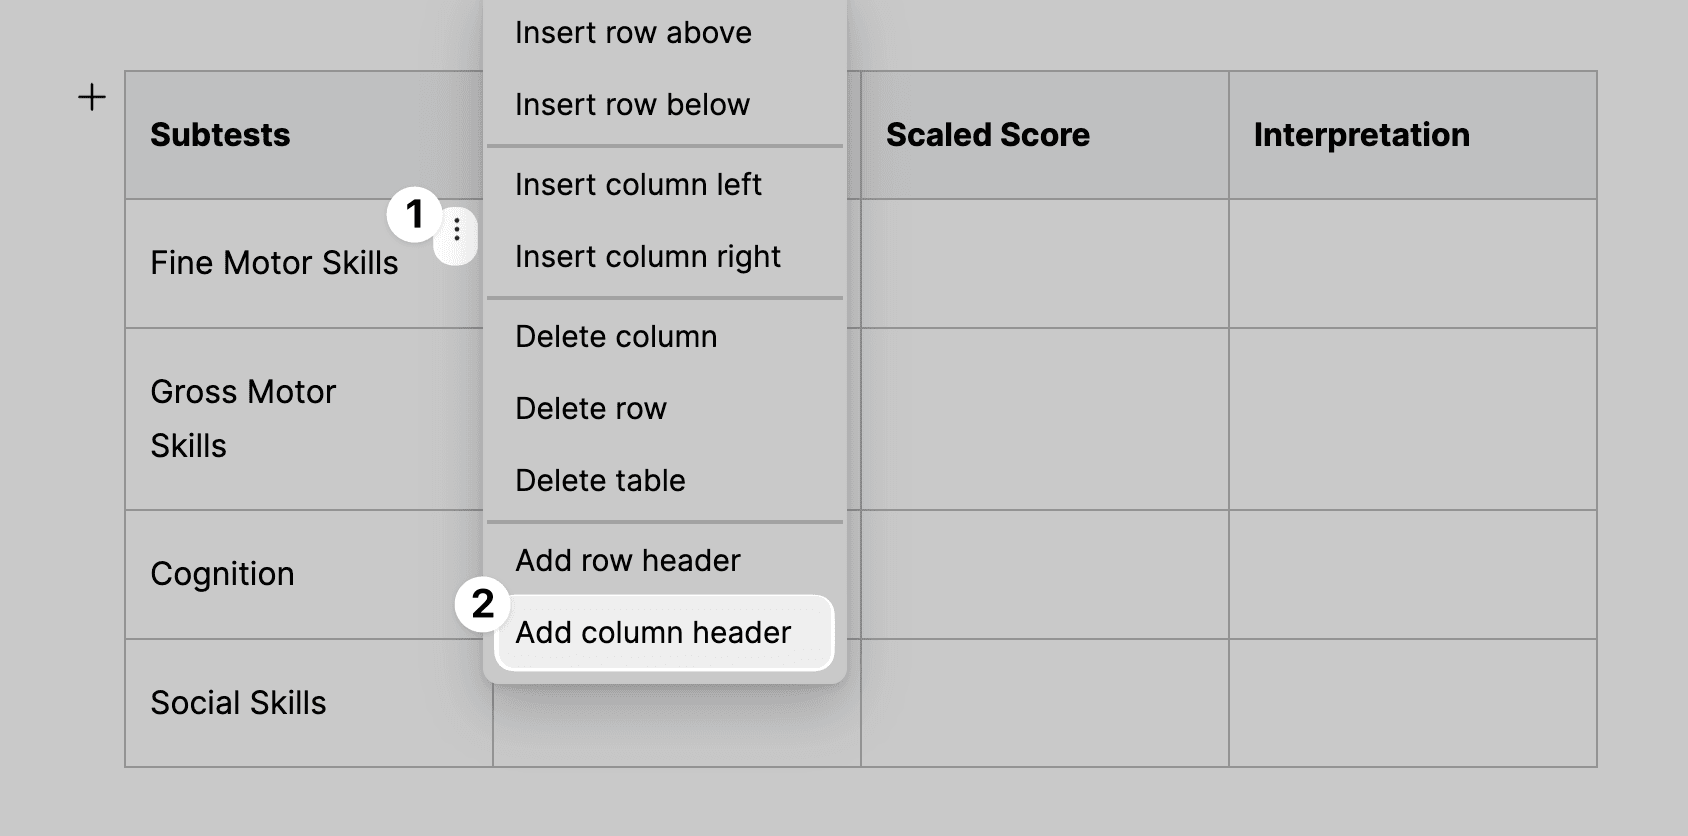
To create the column header, click on the cell detail icon in the upper right of a cell in the first column and click Add Column Header.
There are a few ways of setting up tables in your templates.
- You can provide the headers in the first row.

2.You can provide the headers in the first column. To do this click on the cell detail icon in the upper right of a cell in the first row and click Delete Row Header. Then click on the cell detail icon in the upper right of a cell in the first column and click Add Column Header.
3.You can provide the headers in the first row and first column. To do this click on the cell detail icon in the upper right of a cell in the first row and click Add Row Header. Then click on the cell detail icon in the upper right of a cell in the first column and click Add Column Header.
You can only make the first row and/or the first column a header. You cannot make any other row or column a header. Doing so will result in an error.
Now you're ready to mark the table as an instruction.
Giving Everbility Instructions
It's time to add the AI powers!
Instructions or 'prompts' are special paragraphs or tables used to guide the Everbility AI on what to generate for a paragraph or table. Once you mark a paragraph or a table as an instruction it will stay like that for your template until you either delete the paragraph or table or un-mark the instruction to turn it off.
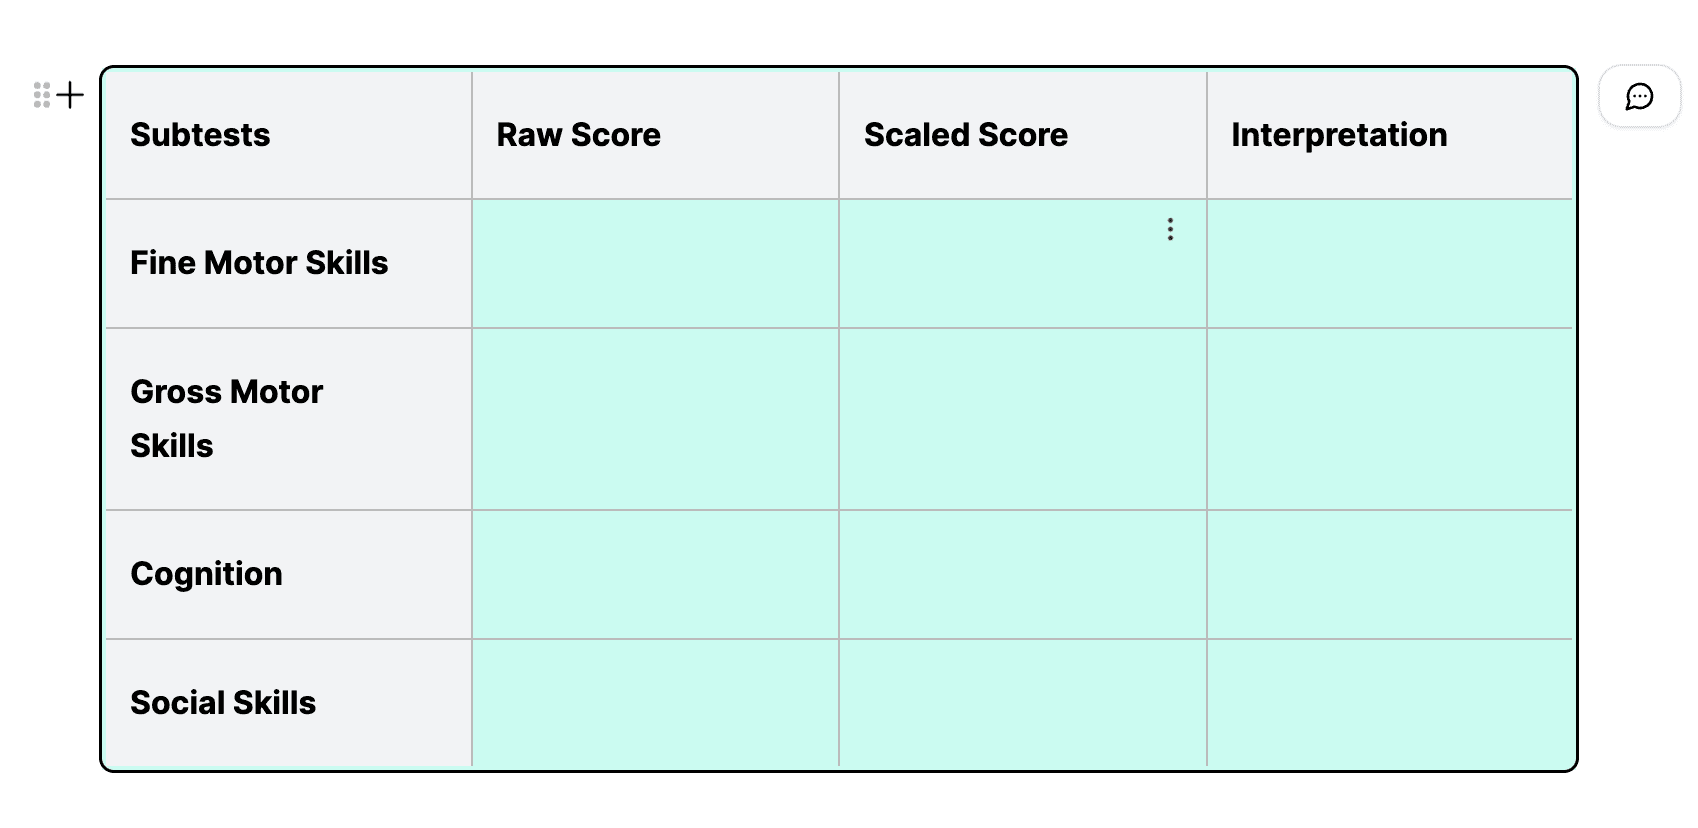
Instructions are identified by the green highlight and a chat bubble icon on the right.
Currently you can mark a paragraph or a table as an instruction.

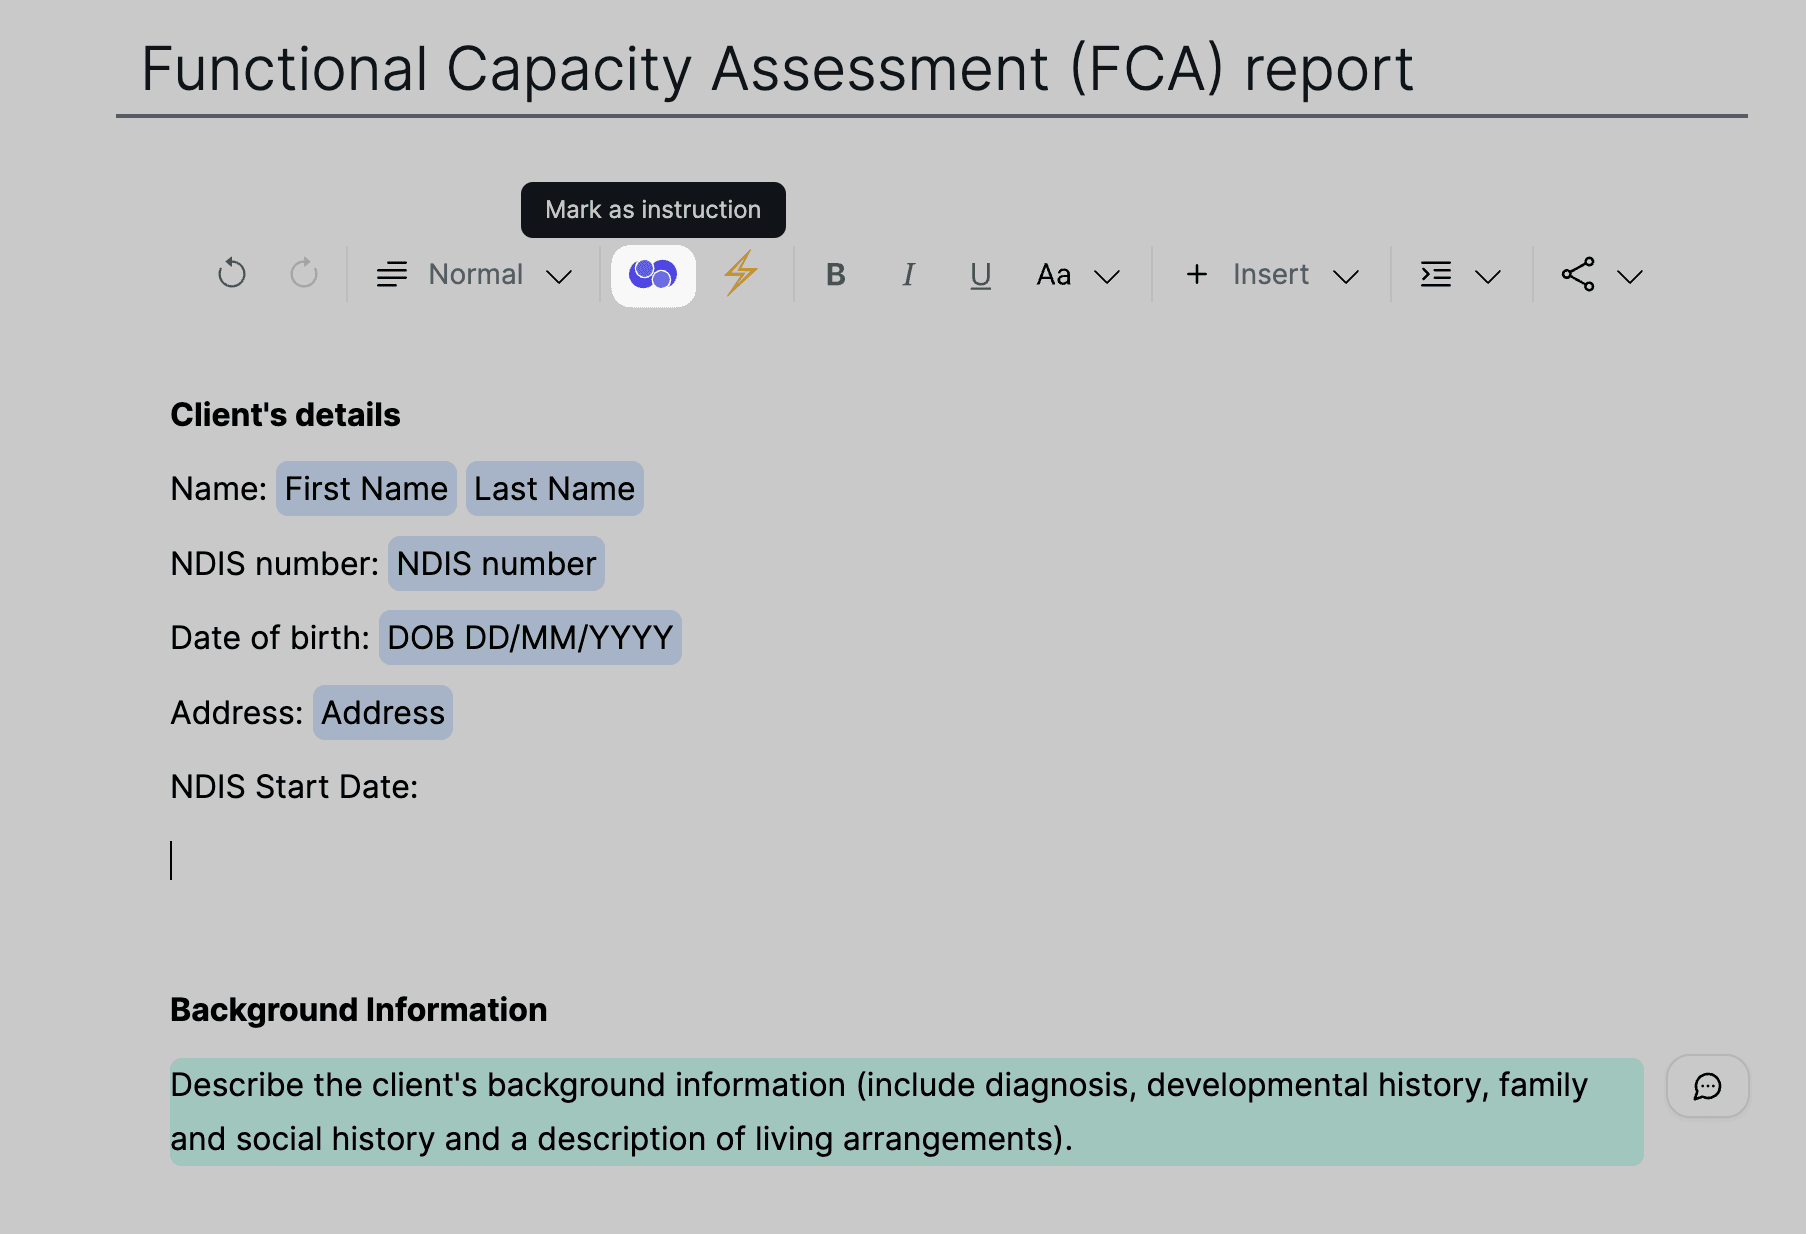
Marking a paragraph as an instruction:
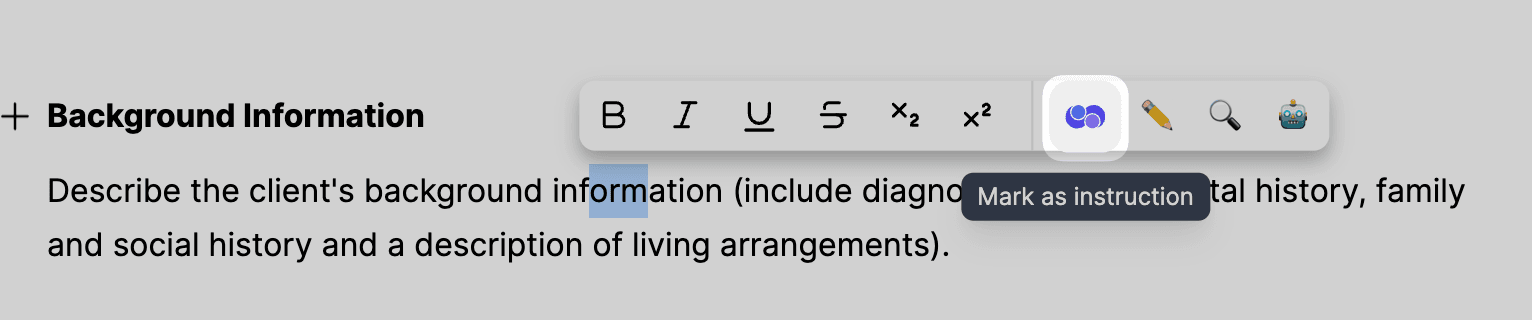
Highlight the portion you want to be generated by Everbility and click on the Mark as Instruction button (Everbility icon) in the main toolbar or in the floating toolbar.
Marking a table as an instruction:
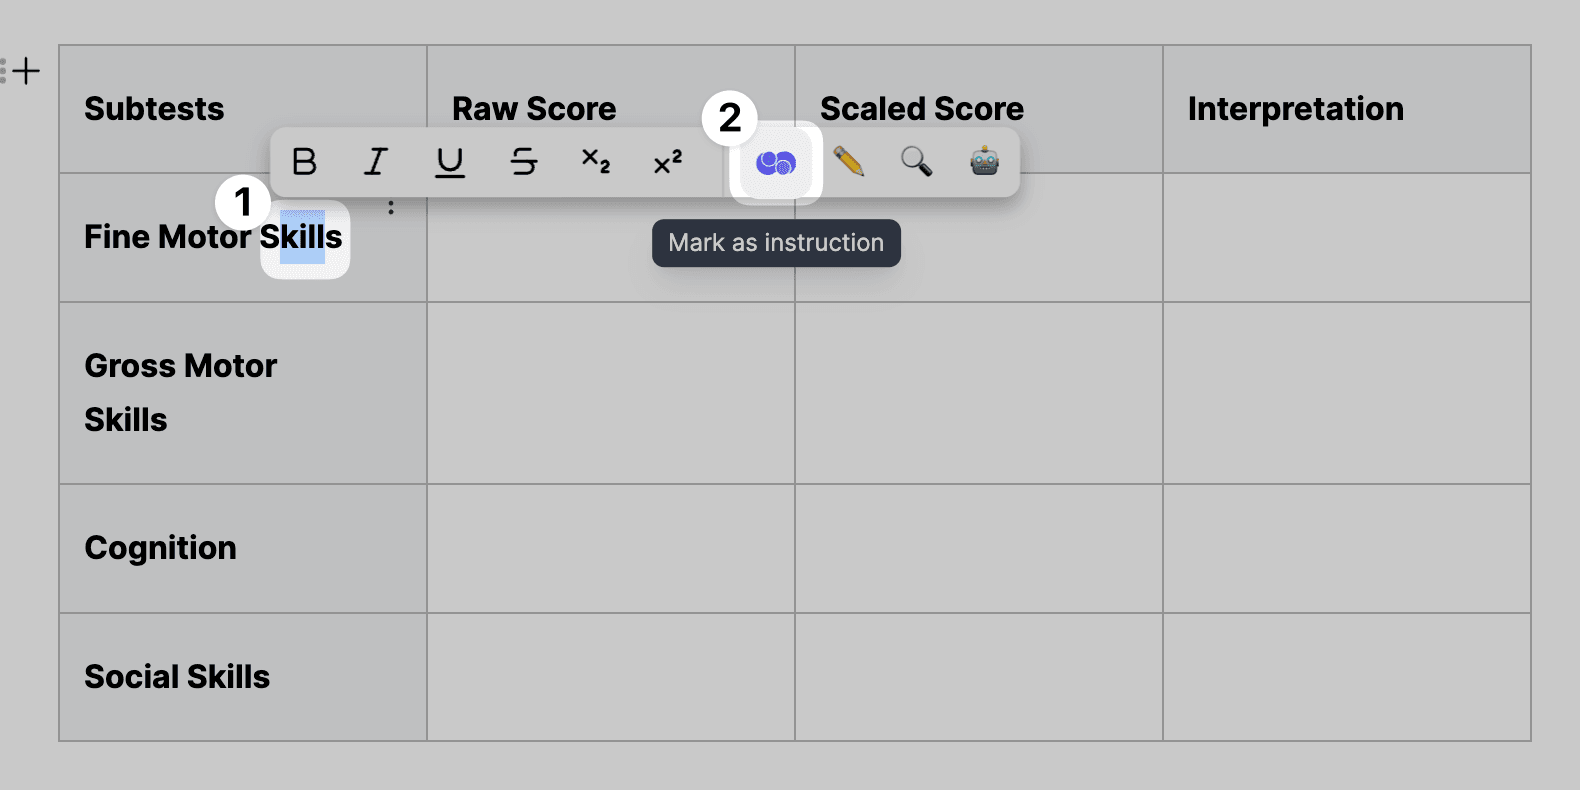
Highlight a portion of the text within the table and click on the Mark as Instruction button (Everbility icon) in the main toolbar or in the floating toolbar.
Here is an example of a table (1x row and 4x columns) that includes all instructions in the first row. When generated, this table will create the number of rows required to input all information.
Tip: If you want your table rows to have very specific data you can provide hints for Everbility in ( ) as shown in the image. Everbility does a good job without the hints also. You can also provide hints in empty cells when setting up a template.
Testing Your Prompts
It's important to test your prompts before using your template in Writer. You can click on the chat bubble icon to generate the paragraph or table. Tweak your instructions until you get the result you are wanting.
Take a look at the Prompting Tips page for more information on how to write effective prompts.
Merge Tags
Merge tags are special AI powered tags that you can use in your templates to get Everbility to fill in the data for you. Merge tags are identified by the blue highlight.

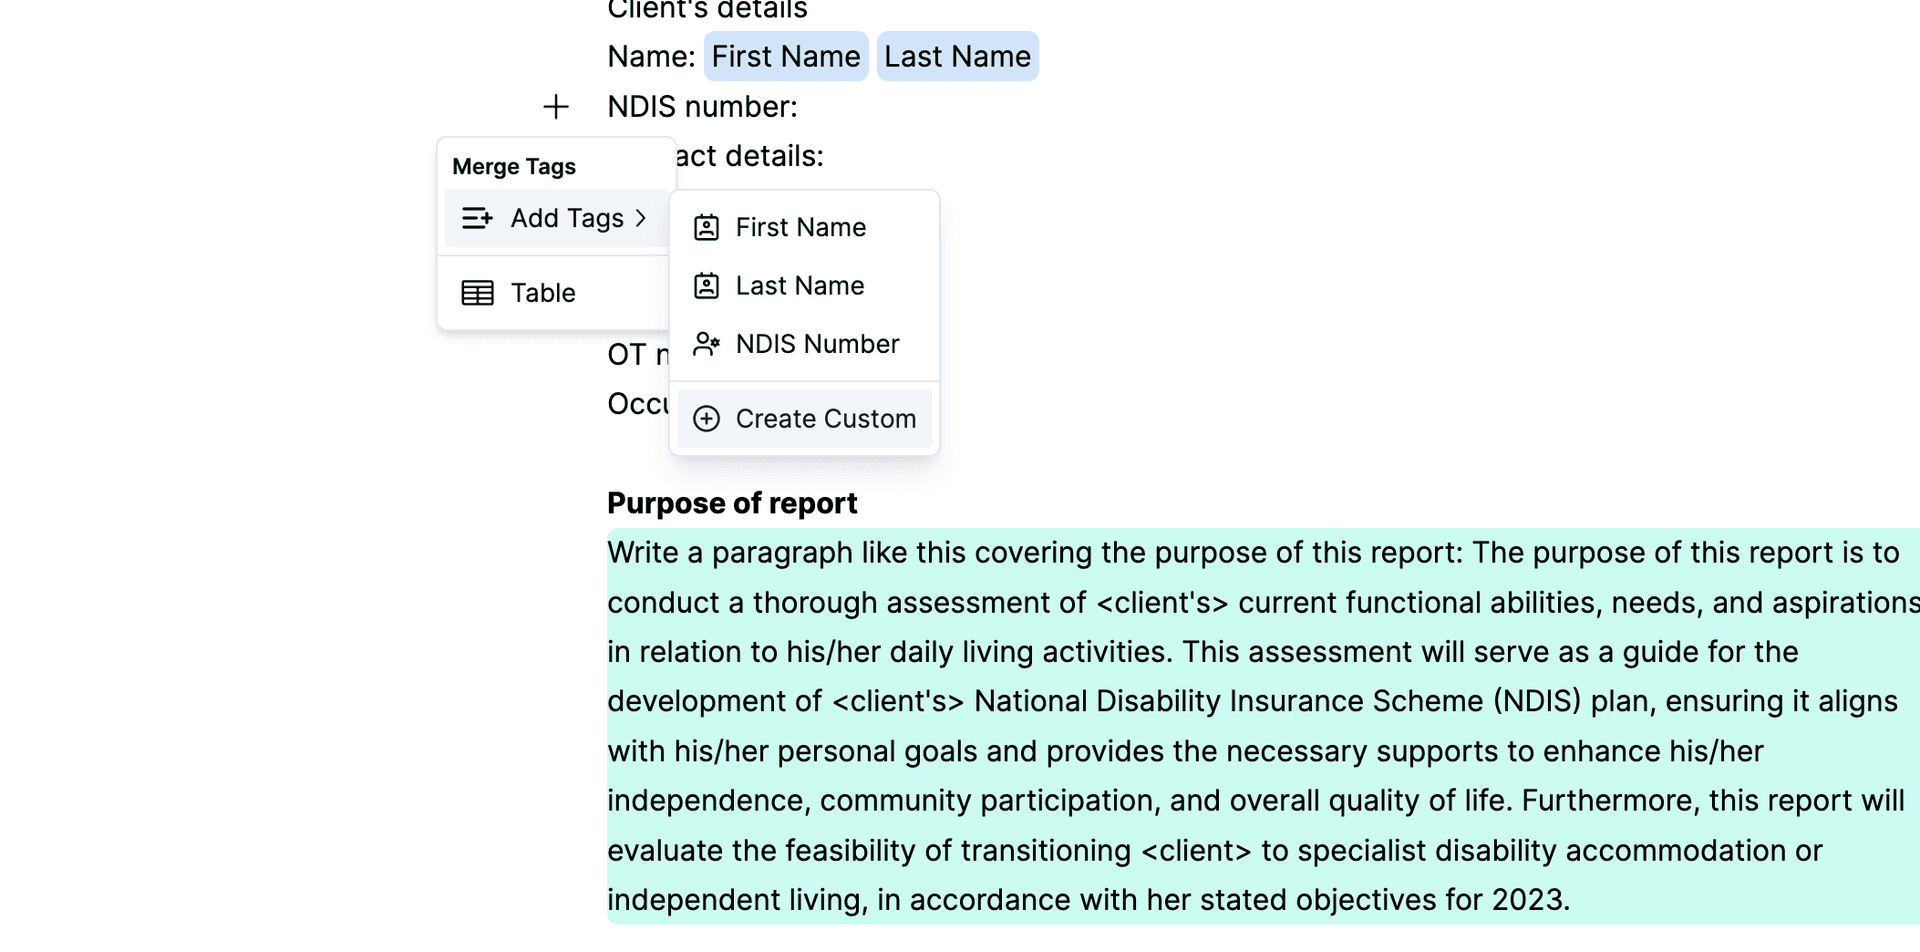
To add a merge tag in your template click on the + icon on the left edge of the editor and then click on Add tags. This will open a list of current merge tags available to insert into the template.
As soon as you start writing a report using the template, Everbility will look through your notes and fill in the data for you.
Merge tags are filled in automatically when you start writing a report using a template that has merge tags or when you insert a merge tag in the writer while writing a report
Custom Merge Tags
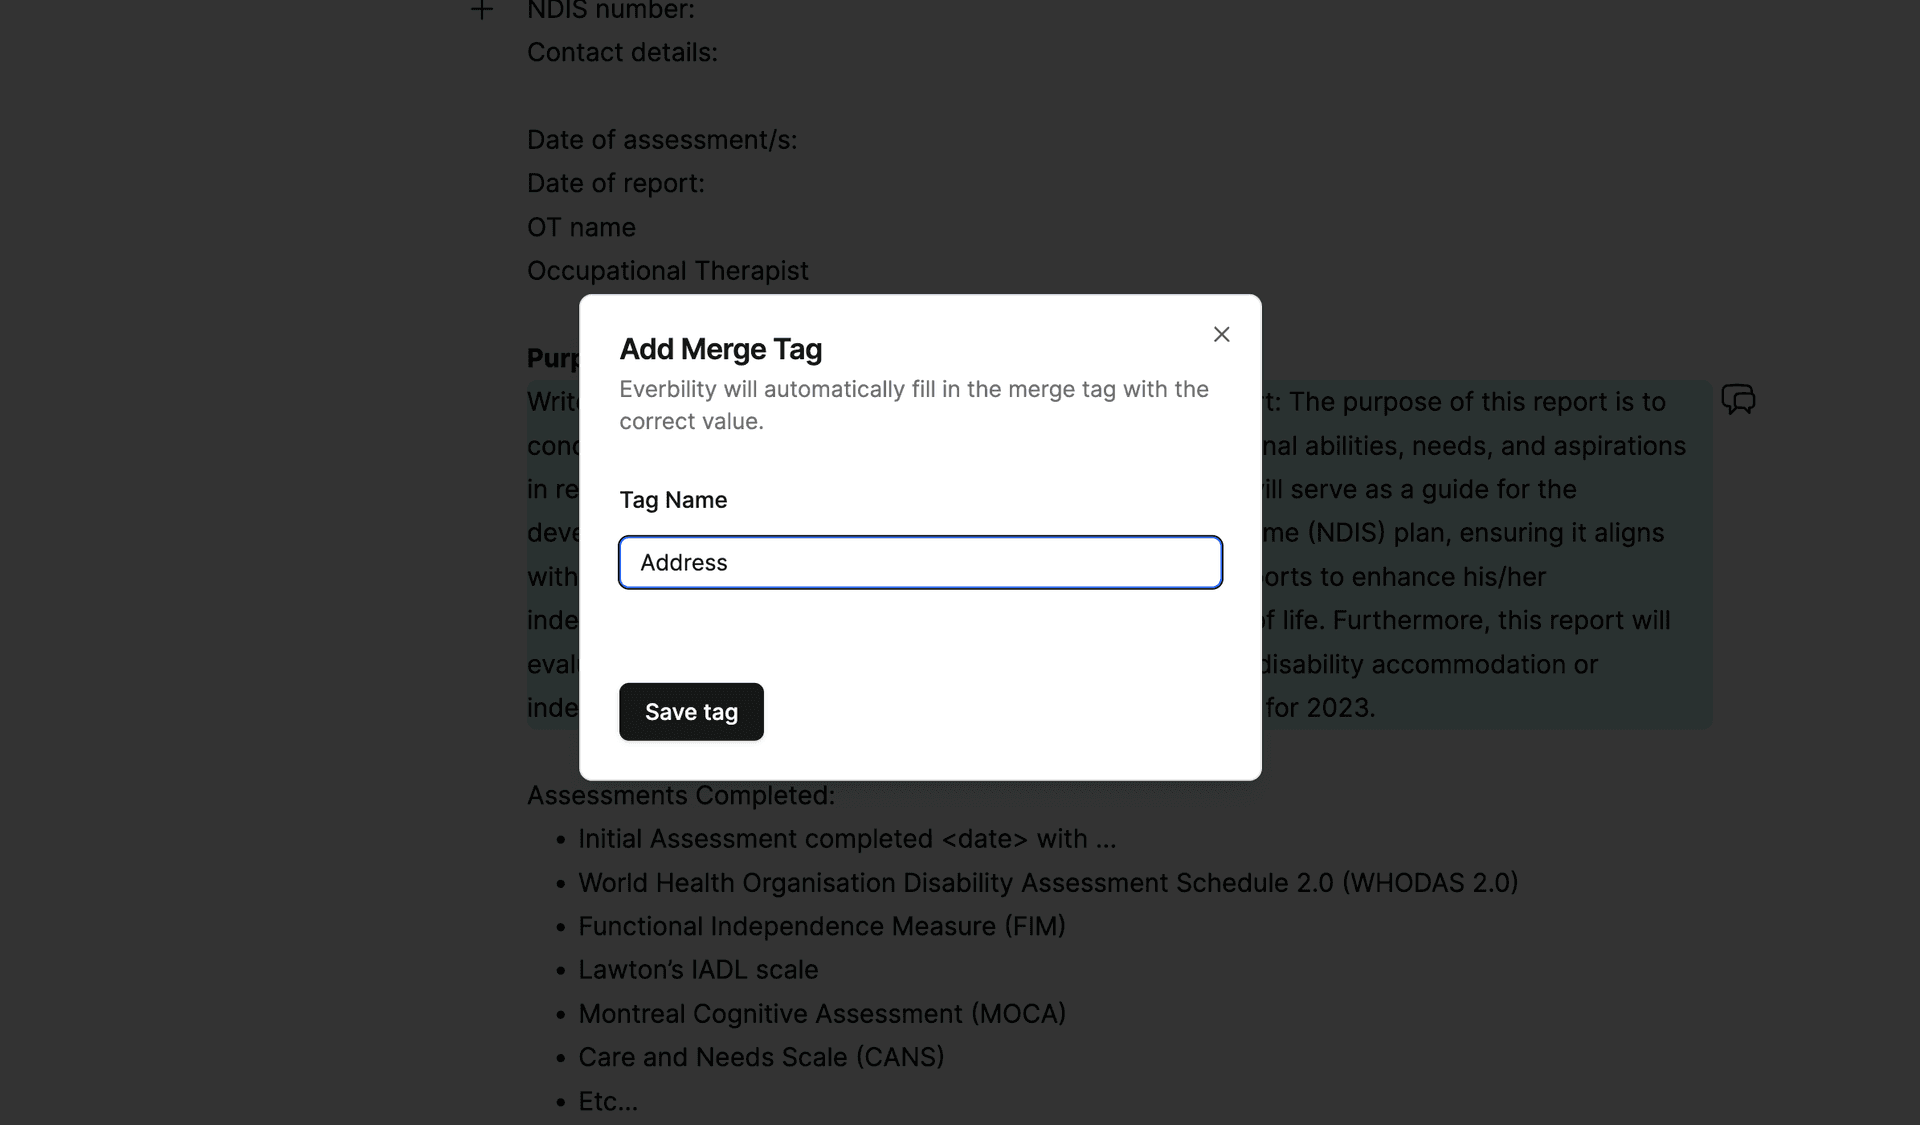
You can also create your own custom merge tags by clicking on Create Custom under Add Tags.
This will open a dialog where you can provide the name of the merge tag that you want to create.
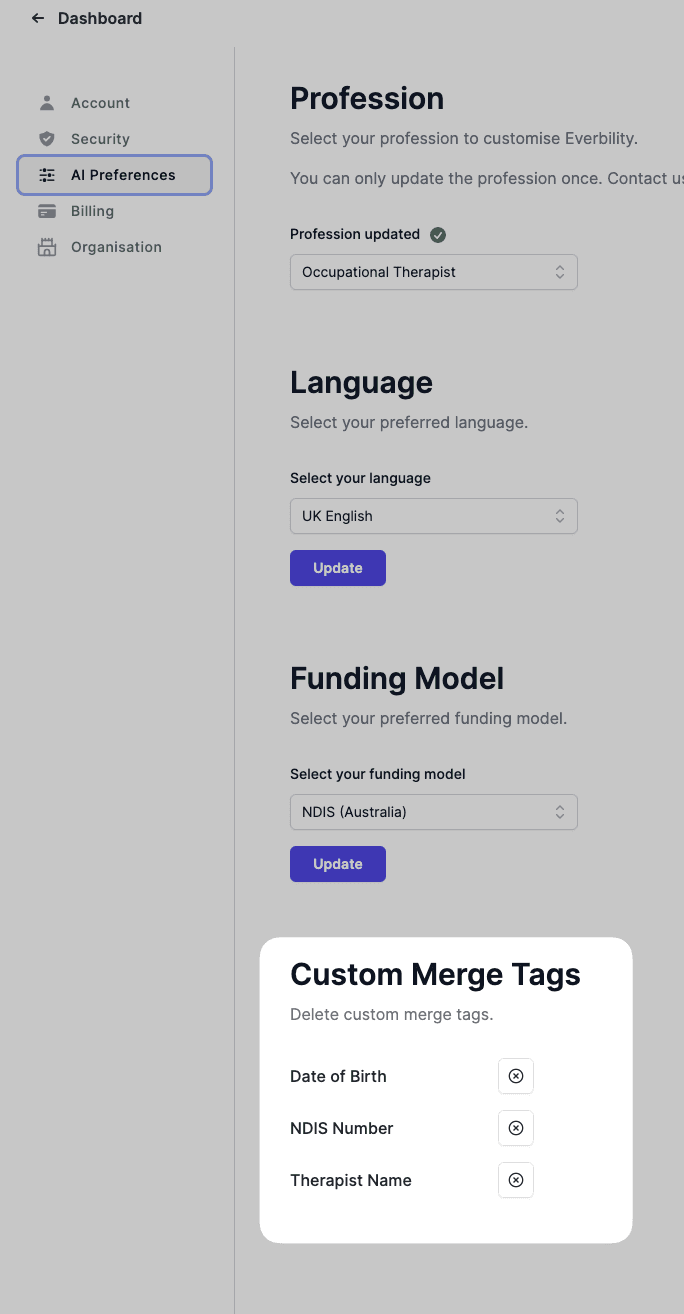
Custom merge tags can be deleted by visiting AI Preferences under Manage Account by clicking on your avatar in the top right corner of the screen.
Updating Merge Tag Value
In case you are not happy with the value that Everbility has filled in for a merge tag you can update it by clicking on the merge tag and then clicking on the Update button.
This will update the value of the merge tag for that particular client and the value will persist in all future reports for that client. All instances of the merge tag in the document will be updated with the new value.
Merge tags can be inserted inline in paragraphs, in tables and in lists.
Ready to Use Your Template?
Head to Write a Document to learn how to start writing reports using your template.
Need to Share Your Templates?
Organisation Templates Head to Organisation Templates to learn how to share templates across teams on Everbility.
Importing/Exporting Templates Everbility writer allows you to easily import and export your documents/templates in a special Everbility format (.everbility) that Everbility will understand. This means that you can easily share your templates with your team members.
Feeling stuck? Book a demo here